


Craft blog by: @themomtessorilife on Instagram
Every year, when it's time to set the table for our holiday dinner, the kids always look forward to getting involved. This year, we gave them an extra-special task: creating DIY holiday table decorations—festive place cards! They were beyond excited and was such a fun and memorable holiday craft that all the cousins could enjoy together. Using OOLY Air Dry Clay, OOLY markers and various stickers and gems, each child had the freedom to let their creativity shine, making each place card unique. Holiday crafts like this are perfect for all ages, and they add a personalized touch to our family traditions!
Time Duration: 1 hour (plus time for clay to dry)
Skill Level: Beginner
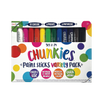
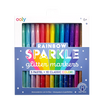
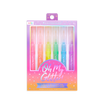
OOLY Products Needed:
Other Items Needed:
- Scissors (adult supervision required)
- Letter stickers (optional)
- Sticker gems (optional)
- Pipe cleaners (optional)
- Googly eyes (optional)
Directions:

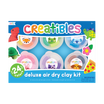
Step 1: Grab your supplies! Set out your OOLY Creatibles Air Dry Clay in various colors, your OOLY Stamp-a-Doodle Markers for decorating, and a selection of gemstones to give your creations some sparkle.

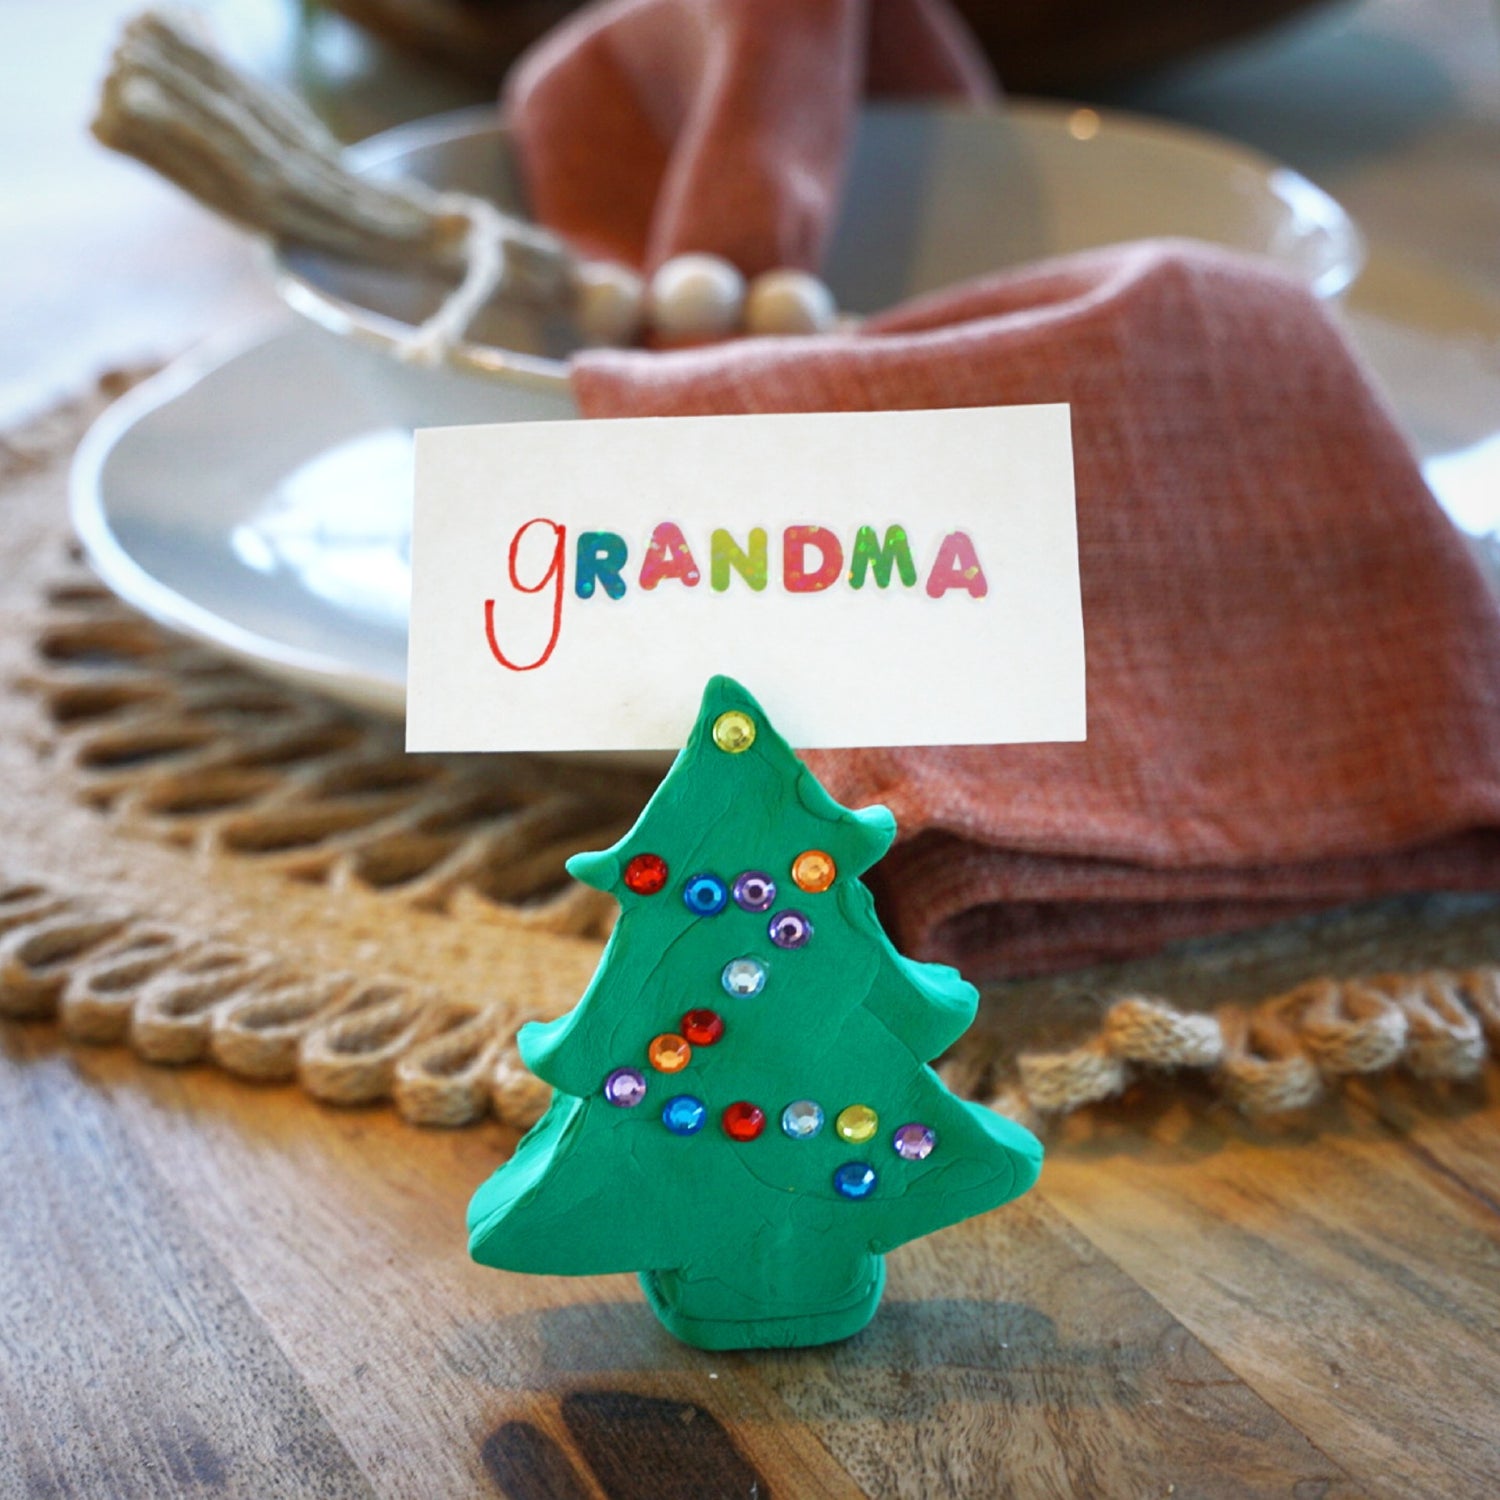
Step 2: Begin by molding the clay into the holiday theme of your choice, this will be the base of the card holder. If you're making a tree, create a flat base to ensure it stands upright. For a star, mold the points evenly. You can also experiment with other holiday shapes like gingerbread men or snowflakes. This clay was so easy to work with and the utensils that came in the kit helped to carve out the small details.


Step 3: Next, while the clay is still moldable, have the children add details to their creations using sticker gems, googly eyes, and pipe cleaners. This adds a festive, shimmering effect. You can arrange them in patterns, like ornaments on a tree or sparkles on a star.

Step 4: Using the utensil from OOLY Creatibles Air Dry Clay Kit, make a small slit on the top of each base for the name card to be placed. Let the designed clay sit overnight to dry. Note: we recommend an adult making the small slit in the clay to ensure that the name card will sit flush in the clay once dried.

Step 5: Using your OOLY White DIY Cover Sketchbook cut 2” x 1” cards to use as the name cards. We then used Stamp-a-Doodle Double-Ended Markers to write the names (or letter stickers to create the names) for each guest on the place card.

Step 6: After your designed clay holders have dried overnight, insert the name card in the top slit and voilà you have the perfect holiday name place card holder.
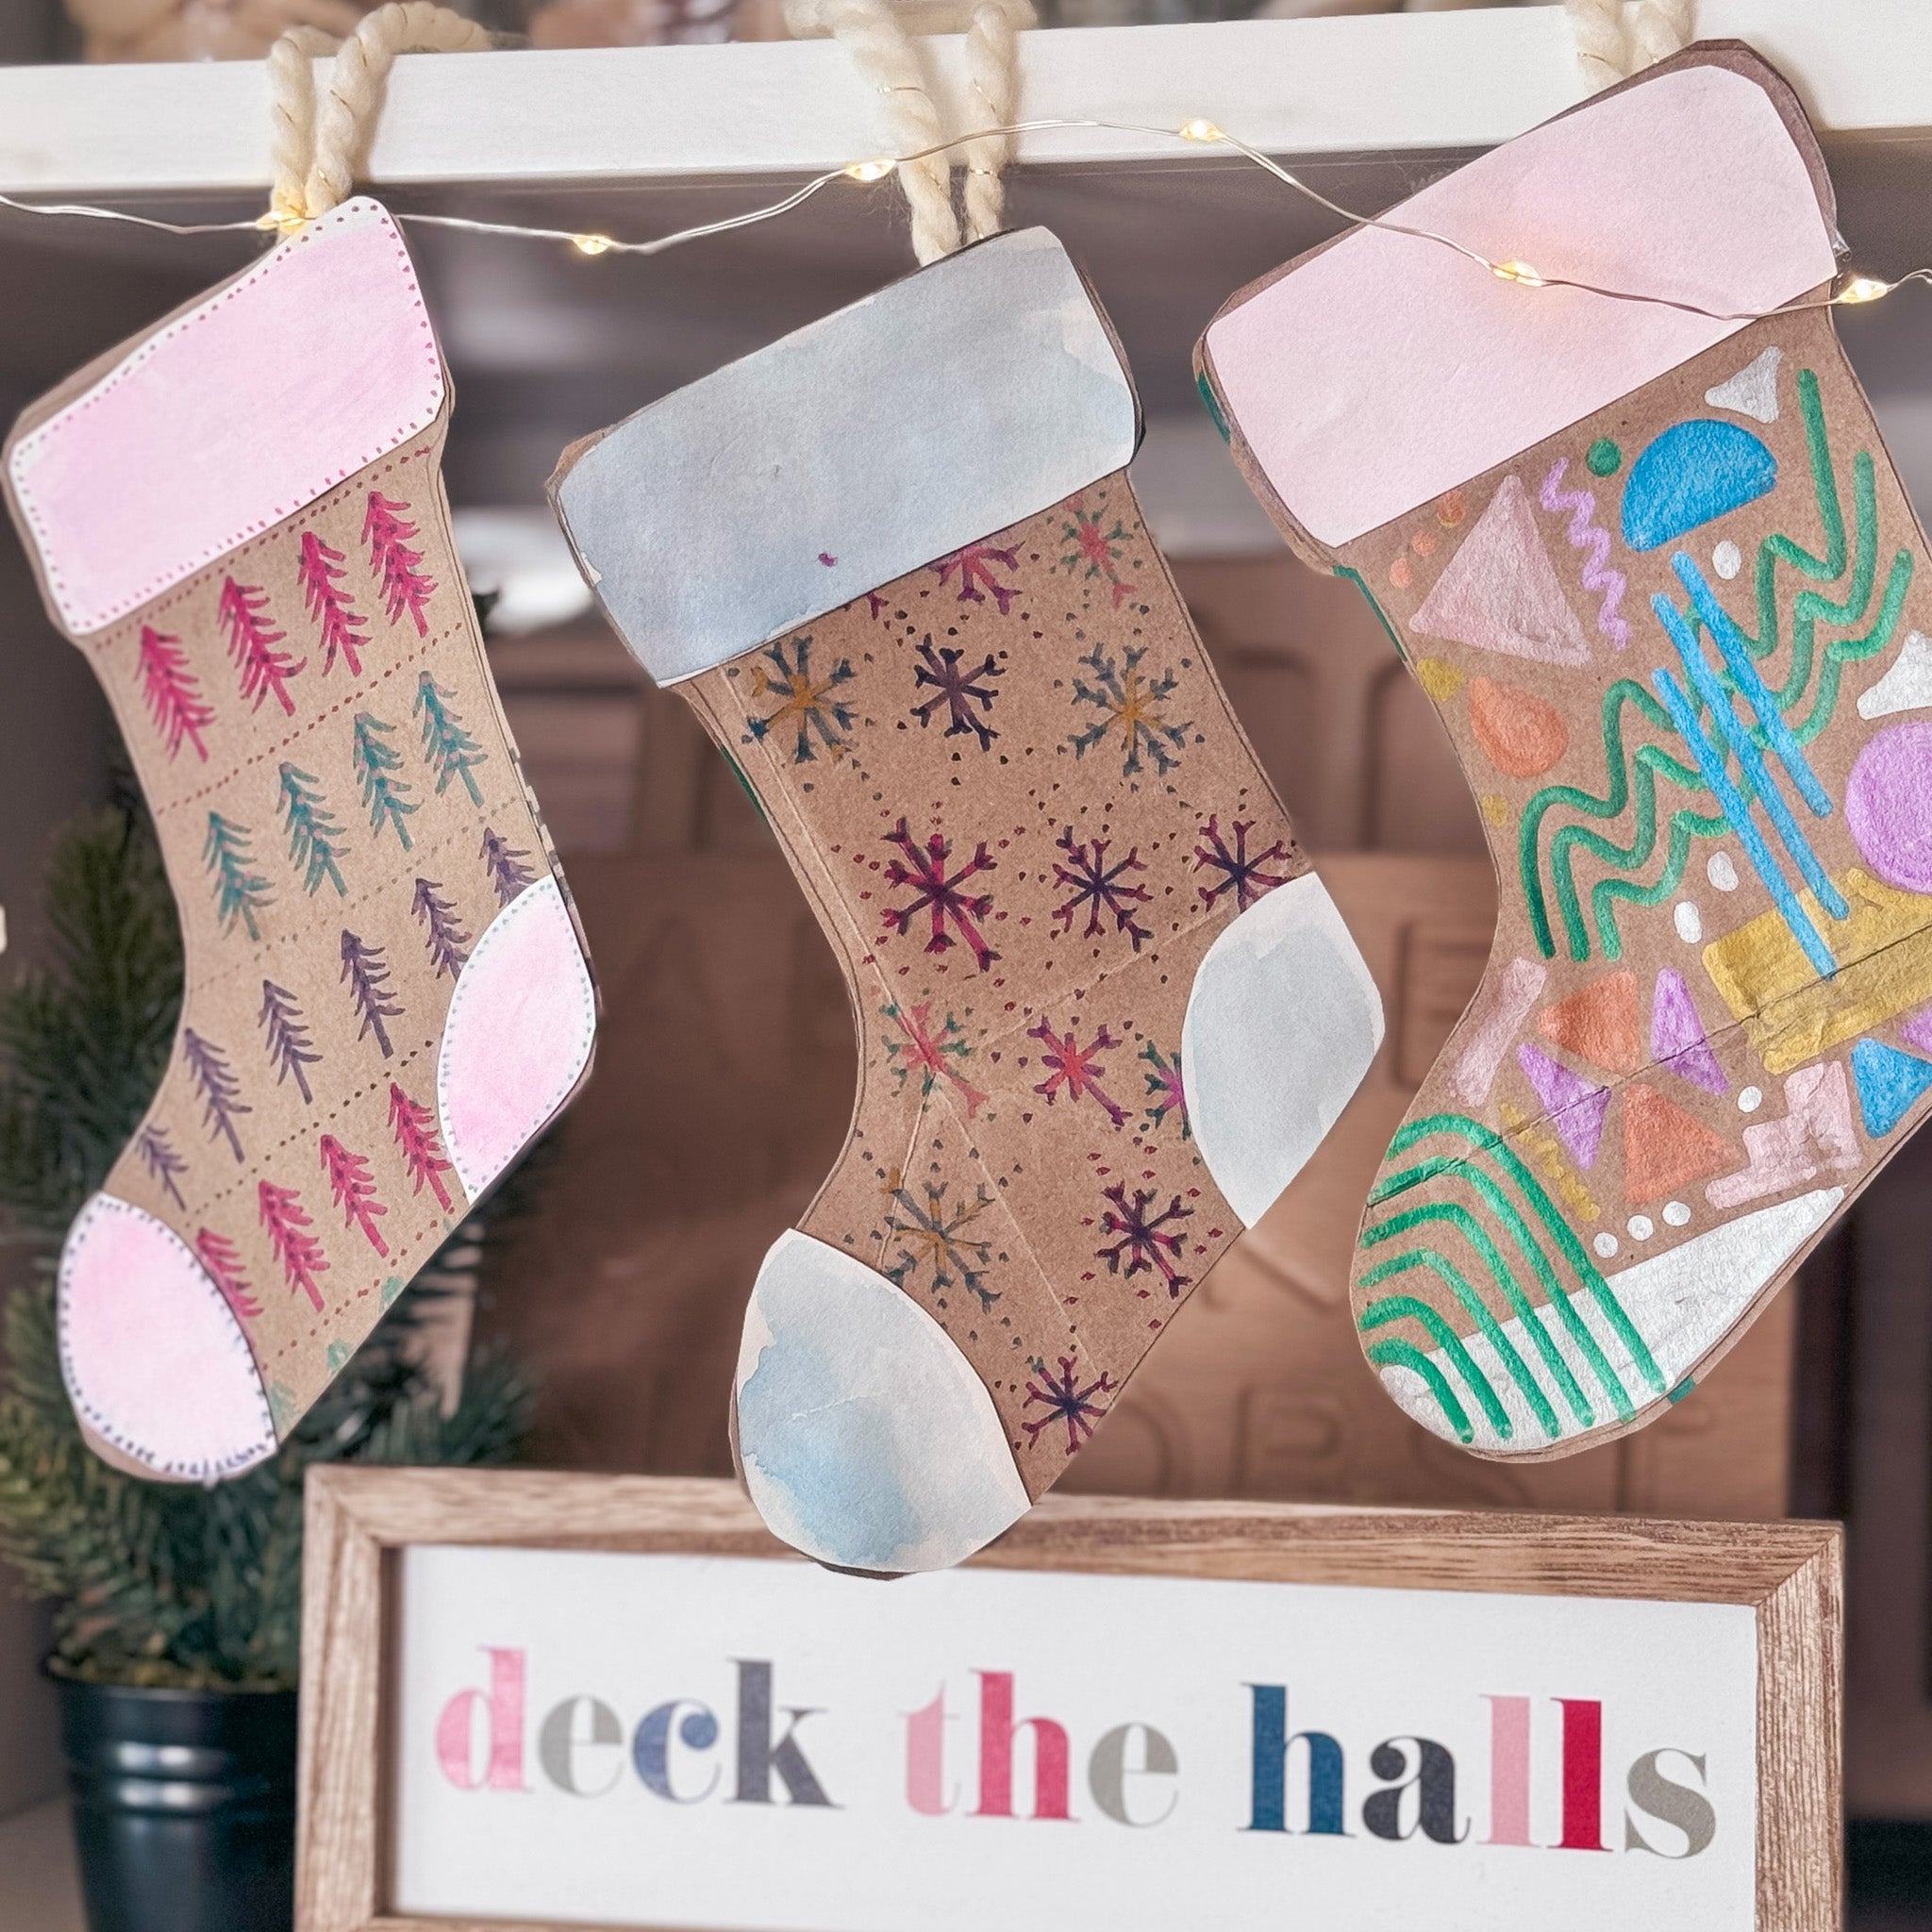
This was probably one of my most favorite holiday crafts we’ve ever done! They turned out so cute at the holiday table and the children were very proud of their hard work especially after receiving so many compliments on their creativity. We hope you enjoy this craft as much as we do!
We would love to see photos of your craft projects! Tag us on Instagram at @WeAreOOLY using #OOLYcreateyourhappy.


