Hand Lettering Basics
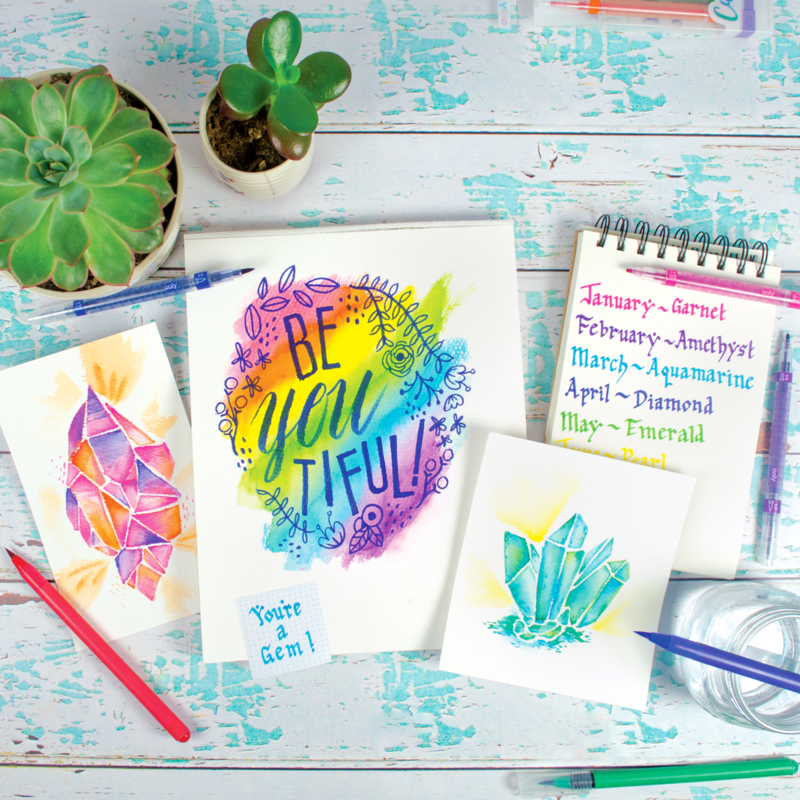
If you're not familiar with hand lettering, it is essentially using line drawing art to design individual letters and strings of words. Unlike calligraphy, cursive, or print, hand lettering is not bound by rules. Letters can extend far beyond their usual space and take on new curvilinear shapes. Likewise, the artist can create his or her very own font. Are you looking to make a bold statement? Give boxed letters a try. Are you aiming to create a soft, whimsical effect? Free, looping letters may be your best bet.Applications of Hand Lettering
Hand Lettering can be used for practically countless projects. A common instance you may come across is on contemporary types of wall art. Signs that offer words of wisdom or encouragement often include unique styles of cursive letters. Similarly, you may notice hand lettering on your graphic tees. If you don't have a specific plan in mind for your hand lettering, don't worry! Your art can be for your eyes only, or you can put it in the unlikeliest of places, such as a gum wrapper or the cover of a journal.Gathering Your Supplies
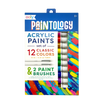
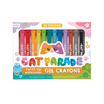
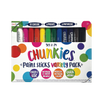
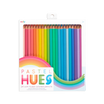
Before you sit down and start practicing your letters, you must gather a few supplies. It's a good idea to have a selection of different types of pens and markers on hand so you can experiment with each to discover the unique effects each creates. Good kits for beginners to start out with include OOLY's Calligraphy Duo Chisel and Brush Tip Markers. With the first set, you gain a wide variety of colors that each feature both a chisel tip and a brush tip. Chisel tips allow artists to create the illusion of depth in their work because the fine lines drawn by the small end of the chisel appear to be twisted in the opposite direction as the thicker lines. Once you have your pens on hand, be sure to find a pad of thick paper that can absorb the ink from your markers. You may also want a pencil and a ruler so you can plan and modify some of your designs.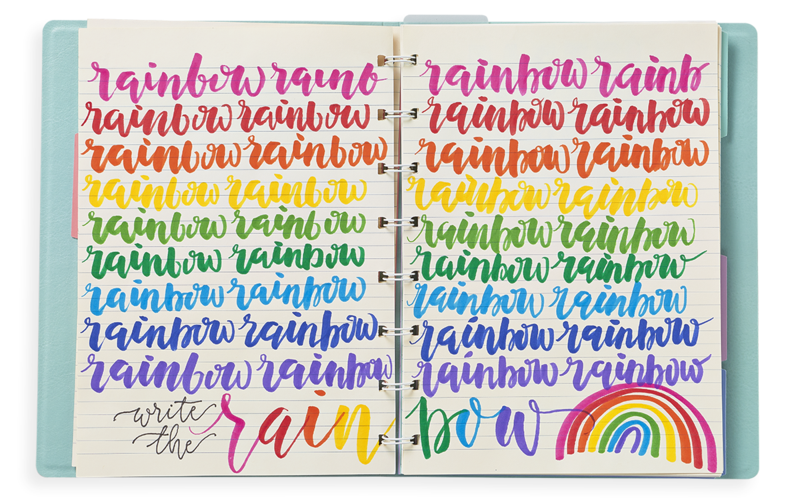 Getting Started
Before tackling entire words and phrases, start small by perfecting individual letters. You may quickly realize that this step isn't as simple as it seems. Each letter, after all, has its own anatomy. When written out on a straight line, each handwritten letter interacts with the baseline in its own unique way. Some descend far below the baseline, like the lowercase "g" or "p." Others ascend far above this point, such as the lowercase "b" or "h." Though your hand lettering doesn't have to adhere to a straight line, try going through the alphabet letter by letter, drawing each lowercase and uppercase letter in medium line weight and standard font along a straight line.
Taking Your Letters to the Next Level
Hand Lettering is all about adding beauty and feeling to letters and words. Your next step, therefore, is to create a design for your letters:- First, choose either a cursive style or block layout as your final goal, then lay several sheets of paper in front of you.
- Draw the frame of all twenty-six uppercase letters in pencil, allowing each letter to take up an eighth or more of the page. In other words, write out each letter as you normally would, but on a larger scale.
- Next, you want to add weight and style details to each character. To do this, use your pencil to outline each letter so the lines appear to be wide and hollow. At this point, you may want to avoid making the lines so broad that they fill up any interior spaces within letters.
- To spice things up a bit, you can now add points of curvature to the boxes you have created. For instance, the endpoint of lines could fan out like a fishtail.
- Finally, add any finer details you can think of to your letter, such as a drop shadow. You can also experiment with your different pens and markers to determine which tool allows you to create the effect you want.


