


Blog by: @emilee.mitchel on Instagram
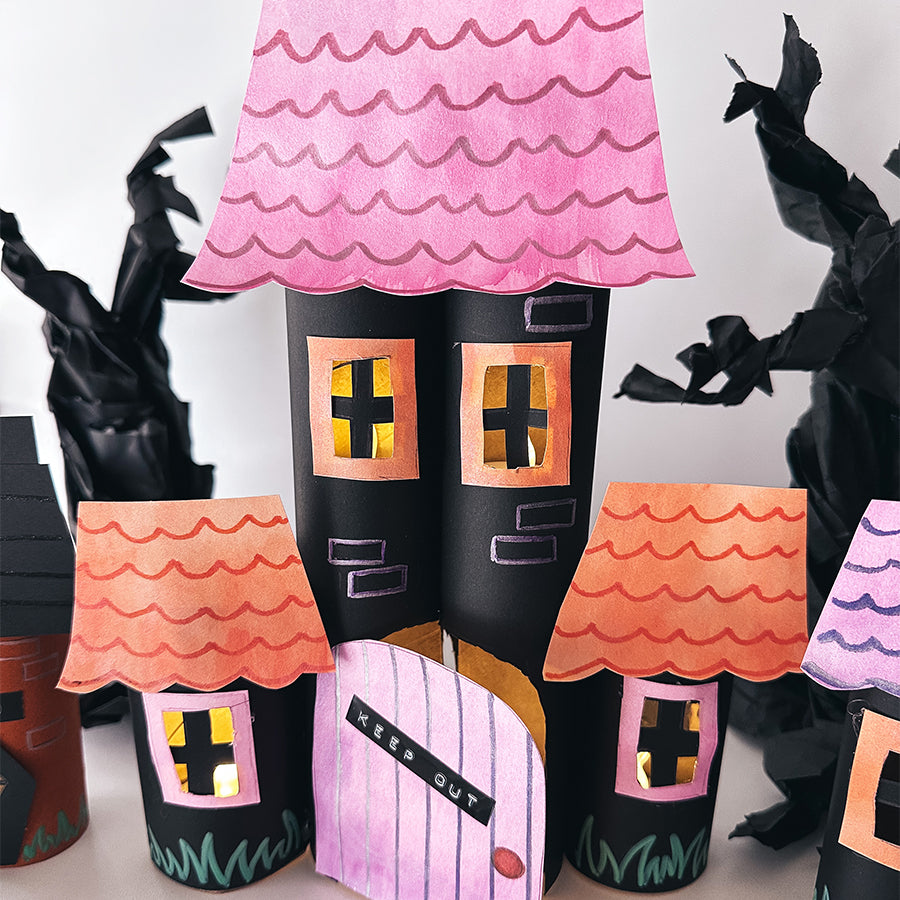
It's that spine-tingling time of year, and we're on a mission to help you turn up the spooky vibes with an upcycled craft that is perfect for Halloween! This easy DIY craft for kids will have you saying “Spooktacular!” as you cut, color, and glue your way to a boo-tifully crafted castle. Using just a few upcycled items from around the house and OOLY watercolors and makers, you can transform your materials into a wonderfully eerie Halloween creation! Ready to make some fang-tastically fun memories? Let's get our spooky on!
Time Duration: 30-45 minutes
Skill Level: Beginner
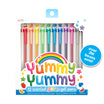
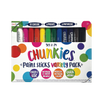
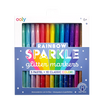
OOLY Products Needed:
Other Items Needed:
- Scissors (adult supervision required)
- X-acto knife (adult supervision required)
- Glue
- Pencil
- Paper towel rolls
Directions:


Step 1: For this craft, you need at least 2 empty paper towel rolls and 2 toilet paper rolls (or you can cut a paper towel roll in half). Give them a spooky makeover by wrapping them up in Black DIY Cover Sketchbook paper. Simply cut the paper to the correct size, add glue to the roll, and wrap. These will be the main structure of your castle.
Step 2: Every castle needs a strong foundation. This castle comes together by attaching the four cardboard rolls together. Start by gluing the two longest rolls together and then attaching one short roll on each side.

Step 3: Using either scissors or an x-acto knife, cut out the areas where you want the windows and doors to go - peek-a-BOO!

Step 4: Now you’re going to create creep-tastic windows, doors and roofs. To start you want to paint a full sheet of the White DIY Cover Sketchbook with the Chroma Blends - Pearlescent watercolor. I used orange and pink.

Step 5: Next, take your painted sheets of paper and cut out the doors, windows, and rooftop shapes. TIP: For the windows and doors, be sure to look at the shape and size of your openings so that everything fits nicely together.

Step 6: Add details like doorknobs and window panes to these features using Vivid Pop! Water Based Paint Markers - Metallic or Rainbow Sparkle Glitter Markers. Simple squiggles work great for the roof!


Step 7: Mount the roof, door, and windows to your mighty paper towel castle, using glue of course.
Step 8: Bring the whole thing to life by adding details with OOLY’s Vivid Pop! Water Based Paint Markers in Classic colors or Metallic shades or Rainbow Sparkle Glitter Markers. I added grass, some bricks, and a spooky sign.

Other Ideas:
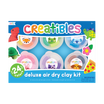
- Sculpt eerie Halloween figures with Creatibles DIY Air Dry Clay.
- To light up your haunted night, place LED tea lights inside your ghostly creations.
Crafting our spooky castle isn't just about making a decoration—it's about brewing memories, igniting creativity, and experiencing the magic of Halloween in every brushstroke. Dive in, let your imagination run wild, and when you've crafted your supernatural spectacle, share it with us. We're dying to be spellbound by your creation!
Join our coven of crafty wizards on Instagram @WeAreOOLY using #OOLYcreateyourhappy.


