


I have always been a huge fan of all things pertaining to fairy gardens, so today's post about creating these wonderful imaginations with DIY eraser clay was a real treat for me. These magical little erasers will look great sitting on your art desk, or would be the perfect gift for that art teacher in your life!
**If you happen to try these out at home, don't forget to tag OOLY and Lady Lucas with #CreateYourHappy on Instagram so we can see your creations!**


 After modeling your erasers, bake them in the oven according to OOLY's directions (found on the packaging of the eraser kit).
After testing all the shapes with a group of children, I found that the ladybug eraser holds up the best for heavy use. The rest of the fairy garden characters are a bit more decorative and should be used gently if handled by small children.
If you enjoyed this post, I'd love to invite you to visit Lady Lucas to take a peek at my artwork, and OOLY for daily creative fun and inspiration!
Pin for later:
After modeling your erasers, bake them in the oven according to OOLY's directions (found on the packaging of the eraser kit).
After testing all the shapes with a group of children, I found that the ladybug eraser holds up the best for heavy use. The rest of the fairy garden characters are a bit more decorative and should be used gently if handled by small children.
If you enjoyed this post, I'd love to invite you to visit Lady Lucas to take a peek at my artwork, and OOLY for daily creative fun and inspiration!
Pin for later:

How to Create These Adorable Fairy Garden Erasers:
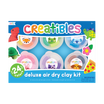
- OOLY Creatibles DIY Eraser Kit
- skewers or toothpicks for creating details
- oven for baking erasers
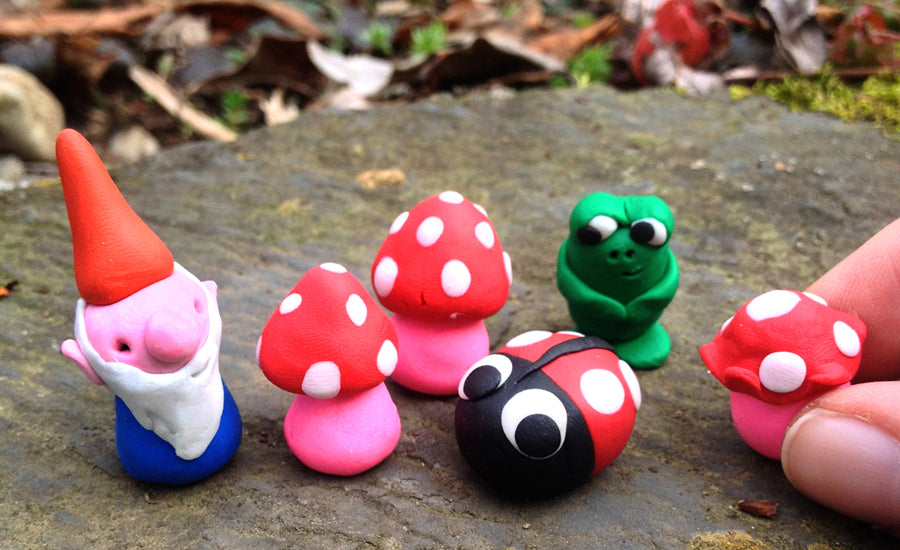
Magical Mini Mushrooms Erasers
Clay colors you will need: white, pink and red Form rounded mushroom caps using red clay, mushroom stems using pink clay, and tiny dots using balls of white clay. Flatten the balls of white clay on each mushroom cap to create a polka dotted look.
Little Ladybug Erasers
Clay colors you will need: red, white and black Form a semi-flattened circle out of red clay. Add some black for the head of the ladybug. Flatten two tiny pieces of white for the eyes. Next, add two super tiny pieces of black for the pupils of the eyes. Add two balls of white for the dots of the ladybug, and a strip of black clay to create the wings!
Garden Gnome Eraser
Clay colors you will need: pink, white, red, blue To create the flesh color for this little gnome, I mixed white clay with a touch of pink. I formed a tiny ball of clay for the nose, and a larger ball for the head. For the hat, form a long triangle shape out of red clay, and a cylinder shape in blue will do nicely for the body. Using a toothpick or skewer, add details like eyes or buttons to your gnome. Add a bit of flesh colored clay as the ears, and a flat piece of white clay makes the perfect beard for your gnome!
*Bonus Idea* Frog Eraser
Clay colors you will need: green, white, black This idea is the most tricky, but fun to make! Using the above image as a guideline, form an oval out of green clay. Add two white balls of clay for the eyes. Add bits of green clay to form the eyelids, arms and legs. Tiny black dots will do nicely as the pupils. Any small details like the nostrils and mouth can be made with a toothpick.
After modeling your erasers, bake them in the oven according to OOLY's directions (found on the packaging of the eraser kit).
After testing all the shapes with a group of children, I found that the ladybug eraser holds up the best for heavy use. The rest of the fairy garden characters are a bit more decorative and should be used gently if handled by small children.
If you enjoyed this post, I'd love to invite you to visit Lady Lucas to take a peek at my artwork, and OOLY for daily creative fun and inspiration!
Pin for later:


