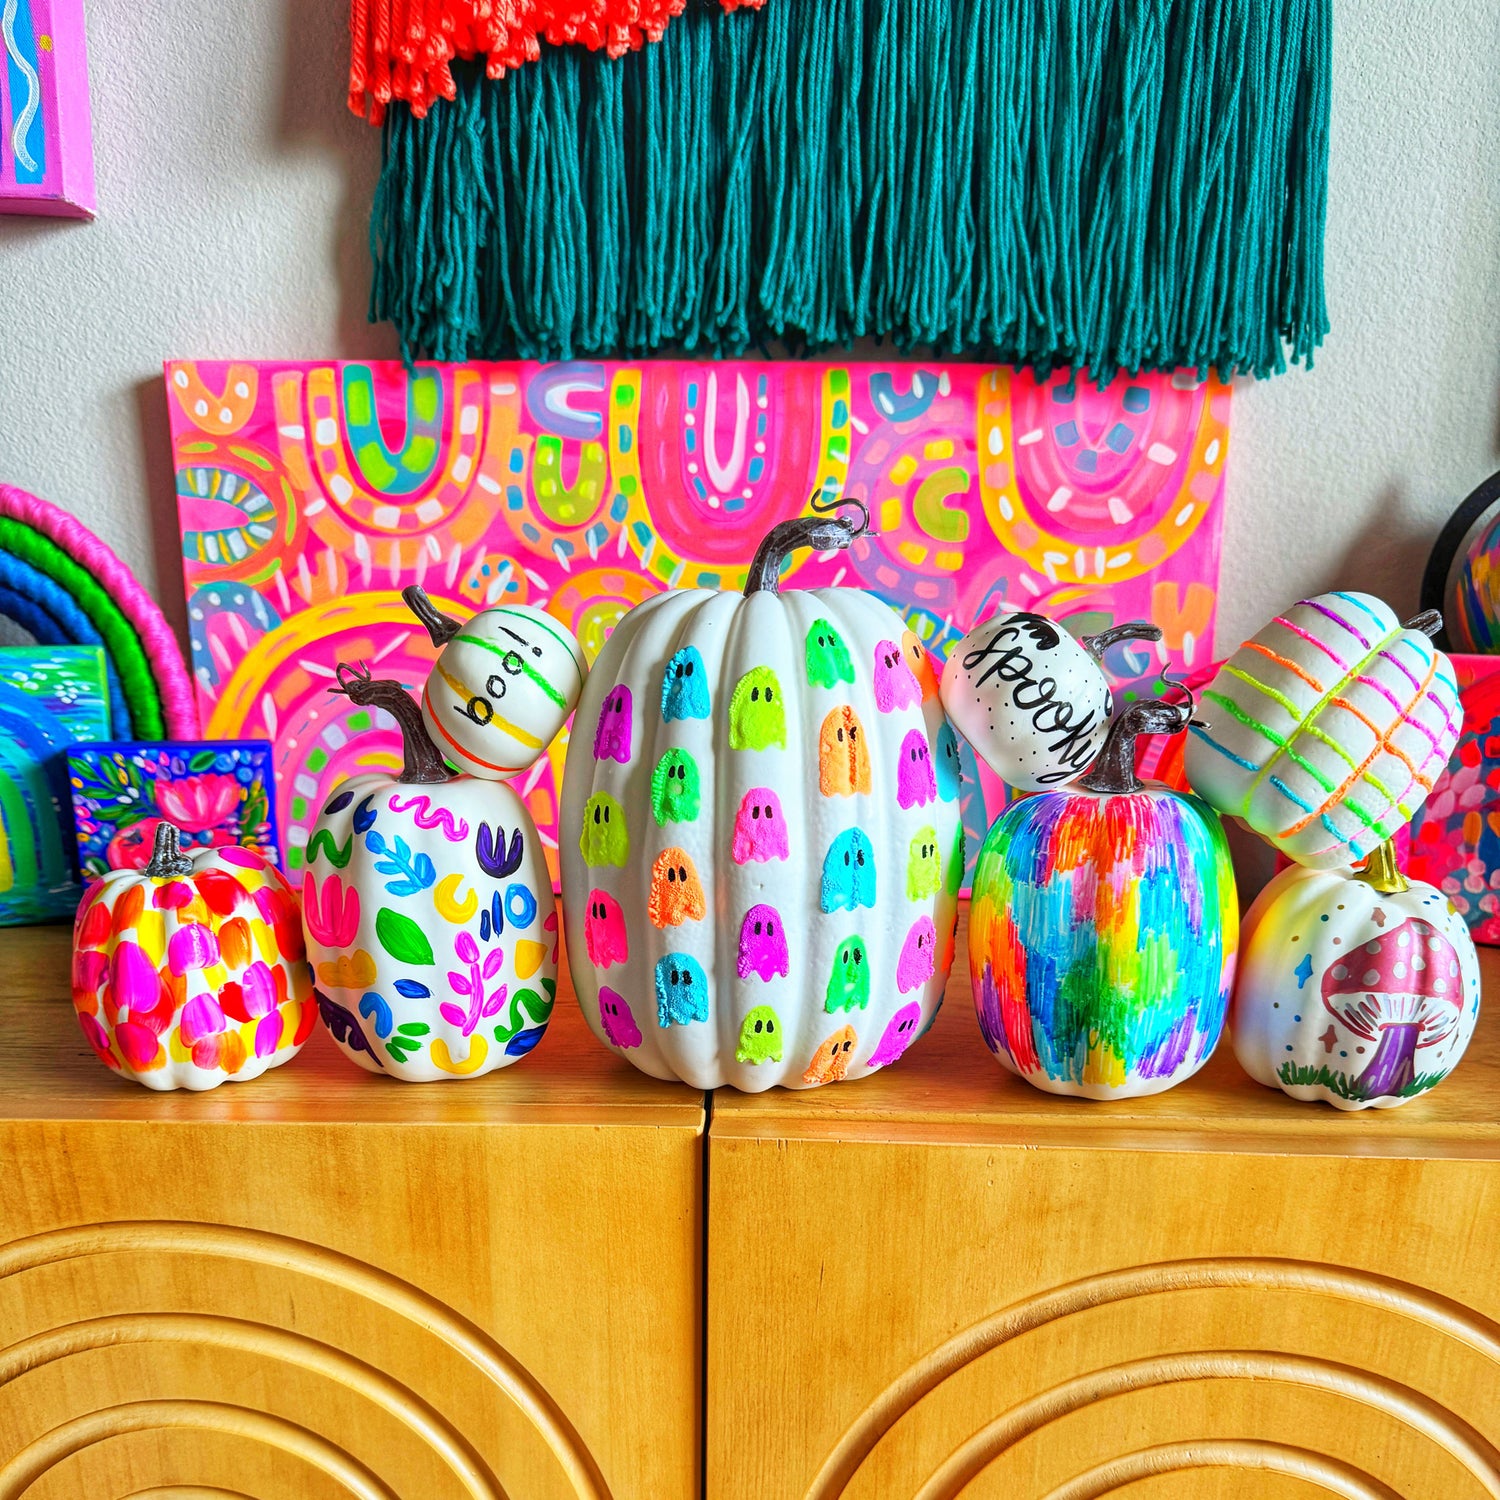
Transform your Halloween into a colorful celebration with this mess-free pumpkin decorating project! With OOLY’s vibrant paints, markers, pens, and crayons, turn simple faux pumpkins into a dazzling display of ghosts, rainbows, and whimsical designs. These easy DIY crafts are perfect for both kids and adults, making it a fun-filled activity that’s all treat and no trick. Whether you’re going for spooky or silly, these decorated pumpkins are sure to add a monstrously fun twist to your Halloween décor. Get ready to craft your way to a boo-tiful Halloween with OOLY!
Drawing with Magic Puffy Pens on Faux Pumpkins

Time Duration: 30 minutes
Skill Level: Beginner
Products Needed:
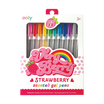
- OOLY Magic Puffy Pens
- Faux pumpkins
Directions:

Step 1: Start by grabbing your OOLY Magic Puffy Pens and draw an oval shape with wavy lines at the bottom. This will form the outline of your ghost.

Step 2: Continue the fun by drawing more ghosts all around your pumpkin, using different colors and shapes. Let your imagination run wild!

Step 3: Once your ghosts are complete, add heat using a hair dryer (adult supervision required) to make the ink puff up like popcorn! Draw, dry, heat, and voilà! Enjoy magical art like you've never experienced before, as the OOLY Magic Puffy Pens neon ink puffs into mesmerizing 3-dimensional art.
TIPS: First, shake OOLY Magic Puffy Pens to mix the paint. Squeeze the pen as you draw to get good ink flow. While the ink dries, let the hair dryer run for 2 minutes on high heat, so it gets hot enough. Then hold it about a half of an inch away from the paint for it to puff up!

Step 4: Now, use OOLY The Ink Works Markers to add eyes and other small details to your ghosts. This will give them extra character and make them come to life with personality!

Step 5: Your spooky, 3D ghost pumpkins are all set! Enjoy showing off your fun and festive creation!
Drawing with Vivid Pop! Paint Markers on Faux Pumpkins

Time Duration: 20 minutes
Skill Level: Beginner
Products Needed:
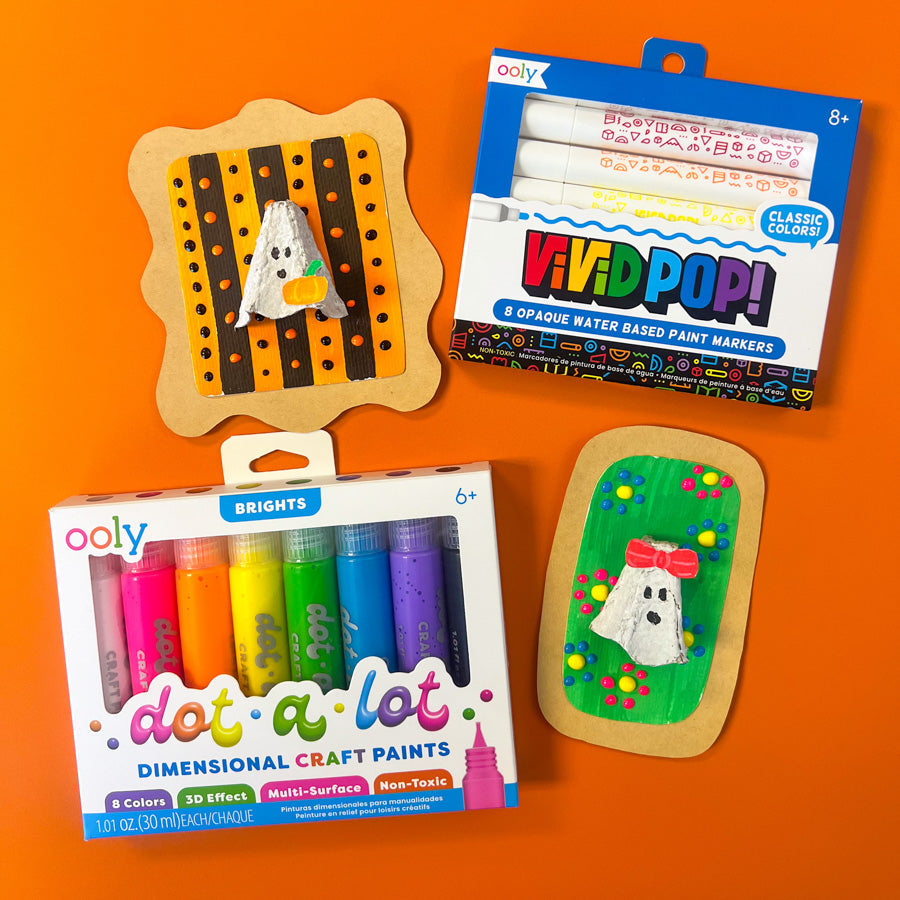
- Vivid Pop! Water Based Paint Markers - Set of 8
- Faux Pumpkins
Directions:


Painting with Paintology Acrylic Paint on Faux Pumpkins

Time Duration: 30 minutes
Skill Level: Intermediate
Products Needed:
Directions:

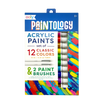
Step 1: Grab your Paintology Acrylic Paint Set - Classic Colors and lay out your favorite colors.

Step 2: Begin decorating your faux pumpkin with fun designs. We chose to paint flowers, but you can go with any design you love. Whether it's rainbows, stars, or unique patterns, let your creativity take the lead!

Step 3: Switch things up by experimenting with different colors and adding extra designs. You can layer various hues and explore new shapes to make your pumpkin even more vibrant and unique.

Step 4: Once your pumpkin is dry, it’s time to proudly display your masterpiece! Find a perfect spot where everyone can admire your amazing creation. Prepare to hear plenty of "Wow!" and "That's awesome!" from friends and family!
Drawing with The Ink Works Markers on Faux Pumpkins

Time Duration: 30 minutes
Skill Level: Beginner
Products Needed:
- The Ink Works Markers
- Faux pumpkins
Directions:

Step 1: Grab your OOLY The Ink Works Markers and start by writing a fun word on your pumpkin. We chose "spooky," but feel free to go with anything that fits the Halloween spirit, like "boo," "trick or treat," or "happy Halloween!"

Step 2: We’re using cursive, but you can explore other fonts and designs to make it uniquely yours.

Step 3: Enhance your design by adding extra details around your word. We added a bat and a moon to give it more Halloween flair. Let your imagination guide you!

Step 4: Step back and admire your finished pumpkin. It’s ready to bring a touch of Halloween magic to your home!
Painting with Lil’ Poster Paint Pods on Faux Pumpkins

Time Duration: 20 minutes
Skill Level: Beginner
Products Needed:
- OOLY Lil' Poster Paint Pods
- Faux Pumpkins
Directions:

Step 1: Start by grabbing your OOLY Lil' Poster Paint Pods and picking out your favorite colors for your pumpkin. Dip your brush into the paint and begin creating small brush strokes across the surface of your pumpkin.

Step 2: Let's make your pumpkin even more lively! Layer various colors on top of one another. You can experiment with different color combinations and use both large and small brush strokes. It’s like dressing your pumpkin in a colorful new outfit!

Step 3: After you've finished painting your pumpkin, allow it to dry completely. Once it's ready, you can proudly display your amazing creation for everyone to see!
Coloring with Color Appeel Crayon Sticks on Faux Pumpkins

Time Duration: 20 minutes
Skill Level: Beginner
Products Needed:
- Color Appeel Crayon Sticks - Set of 12
- Faux pumpkins
Directions:

Step 1: Grab your OOLY Color Appeel Crayon Sticks draw up-and-down strokes on your faux pumpkin. This will create colorful patches that will serve as the foundation for your design.

Step 2: Select different colors and continue layering them using the same up-and-down motion. Mix and match to create beautiful, smooth blends.

Step 3: Keep adding color until your entire pumpkin is covered in vibrant hues.

Step 4: Step back and admire your finished pumpkin. It’s like a beautiful painting was brought to life, ready to brighten up your Halloween décor!
As you wrap up your festive pumpkin creations, take a moment to appreciate the unique designs you've brought to life using OOLY paints, markers, pens, or crayons. Whether it's vibrant colors, spooky words, or playful ghosts, each pumpkin is a reflection of your creativity and Halloween spirit. This easy DIY craft is a fun project for both kids and adults and is perfect for adding a personal touch to your seasonal décor. These decorated faux pumpkins aren’t just decorations; they’re works of art that bring Halloween magic to your home. So, proudly display your masterpieces and enjoy the spook-tacular charm they bring. Happy crafting and have a hauntingly fun Halloween!
Pumpkins decorated by: Kayla Koslow (@mskoslowsartroom) 🎃
We would love to see photos of your spook-tacular pumpkins! Tag us on Instagram at @WeAreOOLY using #OOLYcreateyourhappy.
No-Carve Pumpkin Decorating Ideas 2021
Pumpkins make a wonderful canvas for bright and beautiful designs. When designing your pumpkins let your imagination run wild. Try everything! There's no wrong way to decorate a pumpkin. I’m sharing some of my favorite pumpkin decorating techniques, along with some of my favorite decorating art supplies. I hope you’ll find some fun Halloween inspiration.
Painting on Pumpkins
Kawaii Inspired Pumpkins I was inspired to make fun Kawaii pumpkins after making these pen holder mason jars. I used mini orange pumpkins because I liked their shape, but it would have been easier to paint the pumpkins if I had chosen white ones. Using a primer can make it a bit easier to paint the pumpkins - this is not required but could be helpful. Because I opted to not use a primer, I had to use 3 layers of paint. Use acrylic paints to cover your pumpkins. I did the first layer with a foam brush to easily cover the surface. And for the other layers I used a regular paint brush. 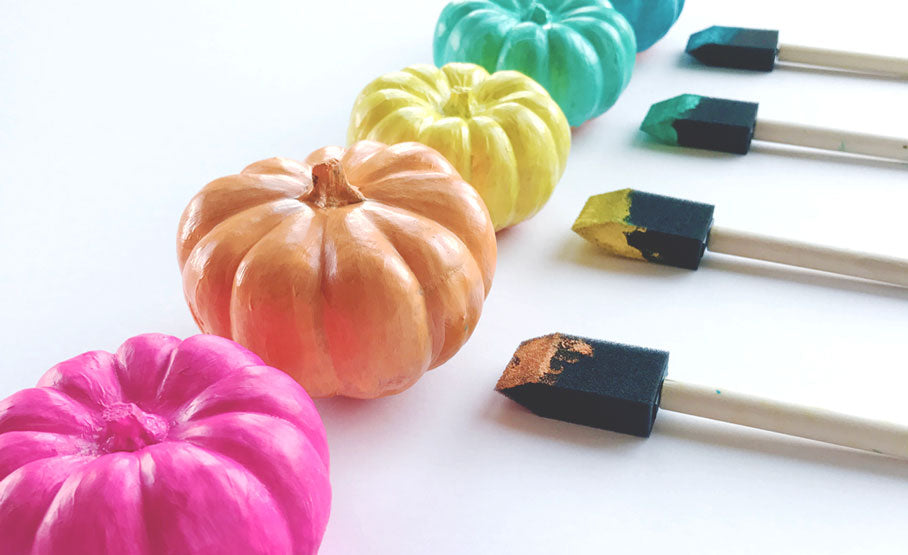
Once your paint has completely dried, use a pencil to draw cute little faces on your pumpkins. For features, I would recommend using black, white, or a light pink acrylic paint.

Rainbow Pumpkins Pumpkins are the perfect canvas for creating a rainbow color wheel. This is also a great and fun way to teach children about ROYGBIV (red, orange, yellow, green, blue, indigo and violet).
 Step 1: Choose a mini white pumpkin. Step 2: Use acrylic paints and either a foam or regular paint brush to paint your pumpkin. You may need a couple of coats of paint.
Drawing on Pumpkins
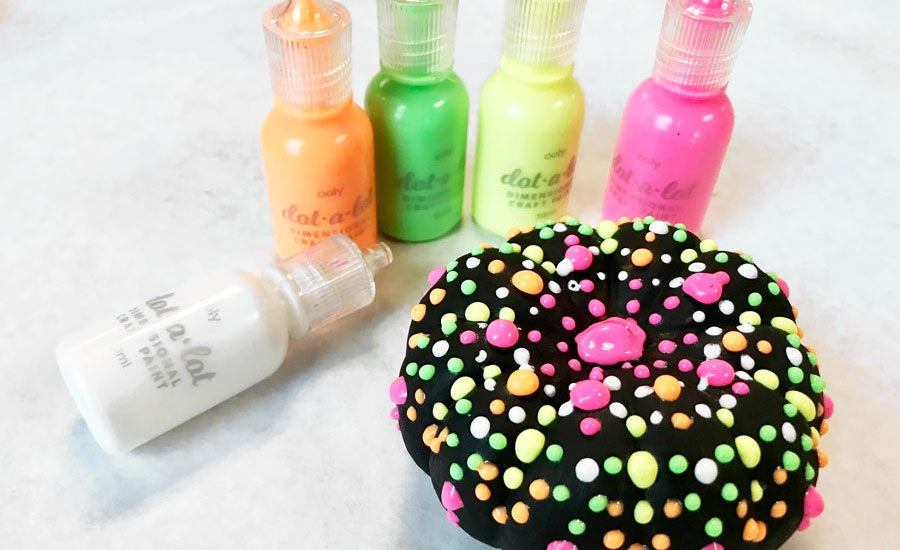
Storytelling Pumpkins The idea for the storytelling pumpkin came about from my love of making story stones for children. This was a fun pumpkin to collaborate with my 5-year-old son, and a great way to help him with creative storytelling. I created this whimsical-inspired pumpkin (see below) using OOLY's chalk-o-rama chalk crayons. I love how smooth and beautiful these chalk crayons cover the pumpkins surface. Plus, they work on almost any surface, including real pumpkins!

Embellishing Pumpkins
Glitter Pumpkins “When in doubt, add more glitter!” If you want something that is eye-catching and will make people smile, just add glitter to your pumpkin.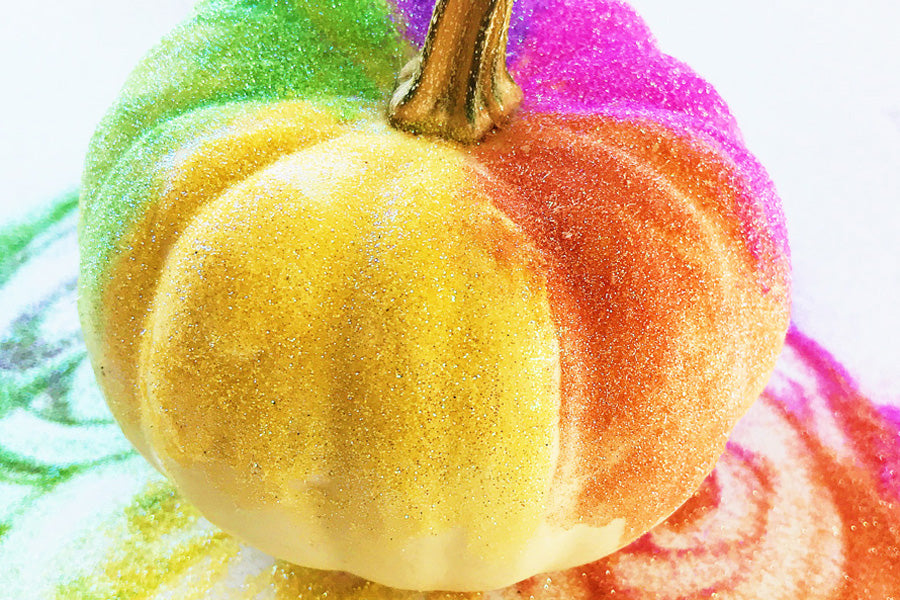


Melted Crayon Pumpkins
 Making a melted crayon pumpkin is a fun and unique project to do with kids.
Step 1: First, unwrap your crayons and cut them in half. Step 2: Next, use tacky glue or another glue that is quick drying - glue about 16-20 crayon pieces around the pumpkin. Step 3: Once the glue has dried use a hair dryer to melt the crayons. I recommend using a tarp underneath the pumpkin, covered in garbage bags.


