arts and crafts

Colorful Fall DIY Craft: Rainbow Windsock

Rainbow Windsock made from tissues and a paper roll on an outdoor table

By: Jaclyn Ryan

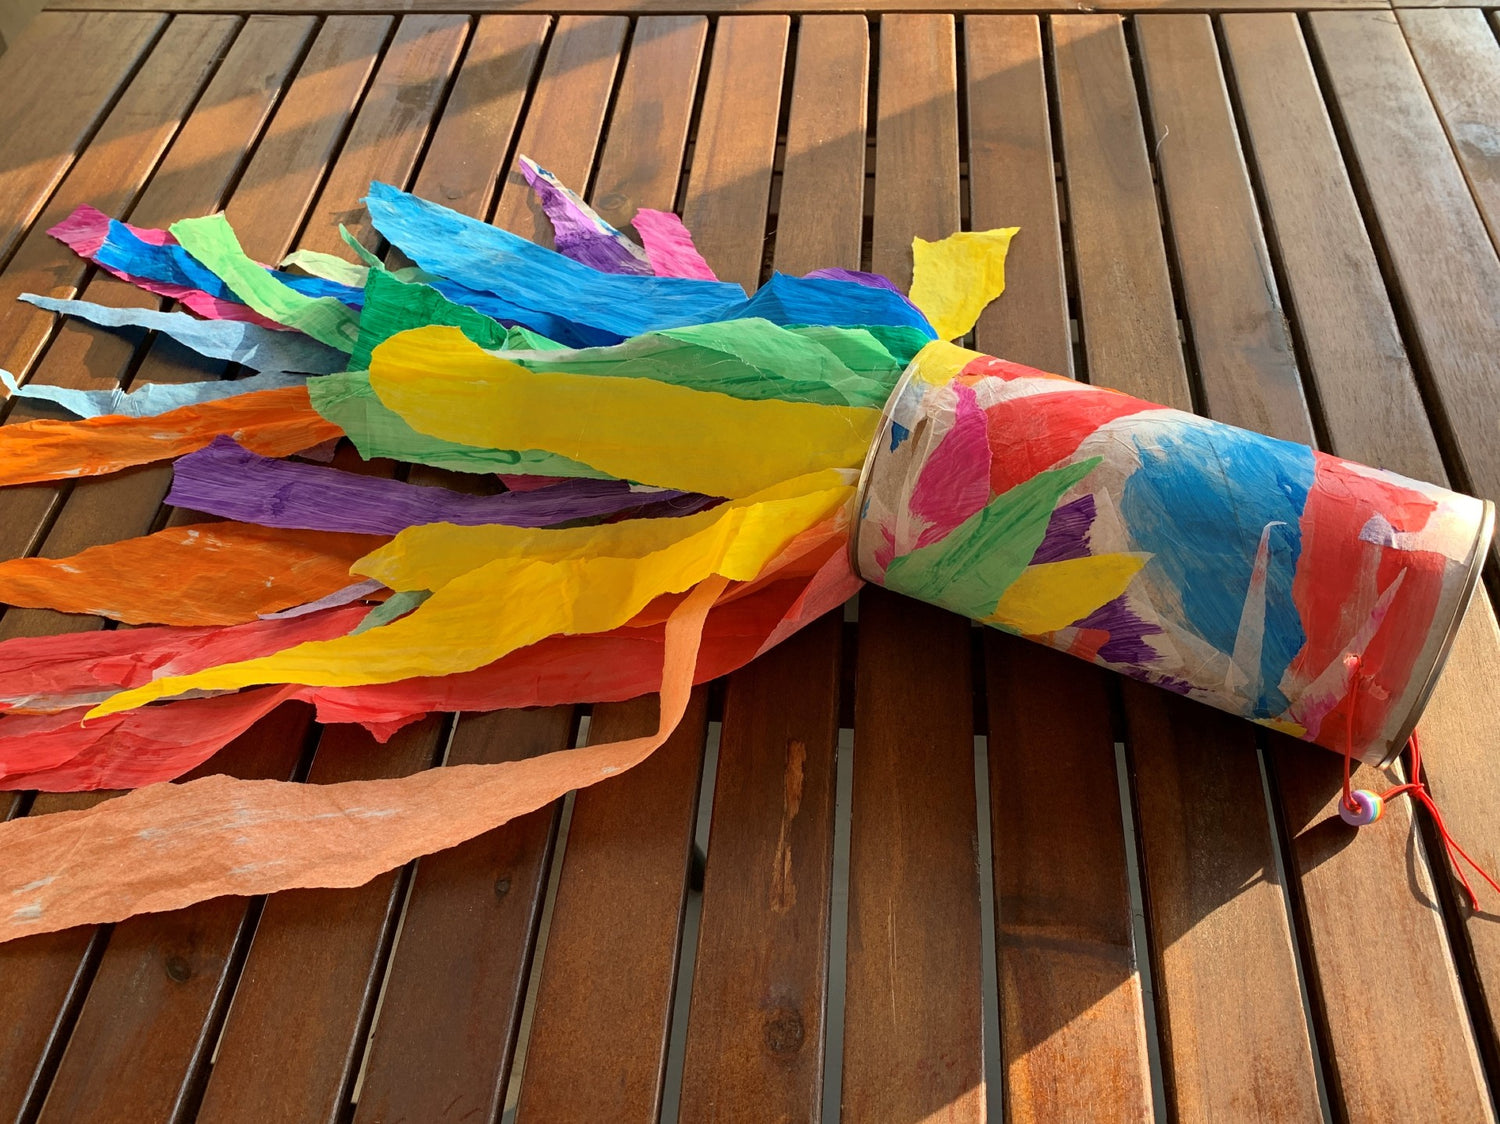
This fun and easy painting craft for kids is the perfect way to add some color to the fall season. For this easy art and DIY project, we created a rainbow windsock using a few simple materials. We had a blast painting tissue paper with OOLY products to make this windsock come to life. It is a wonderful art project that will truly brighten up your yard after the leaves fall.

Time Duration: 30 minutes

Skill Level: Beginning

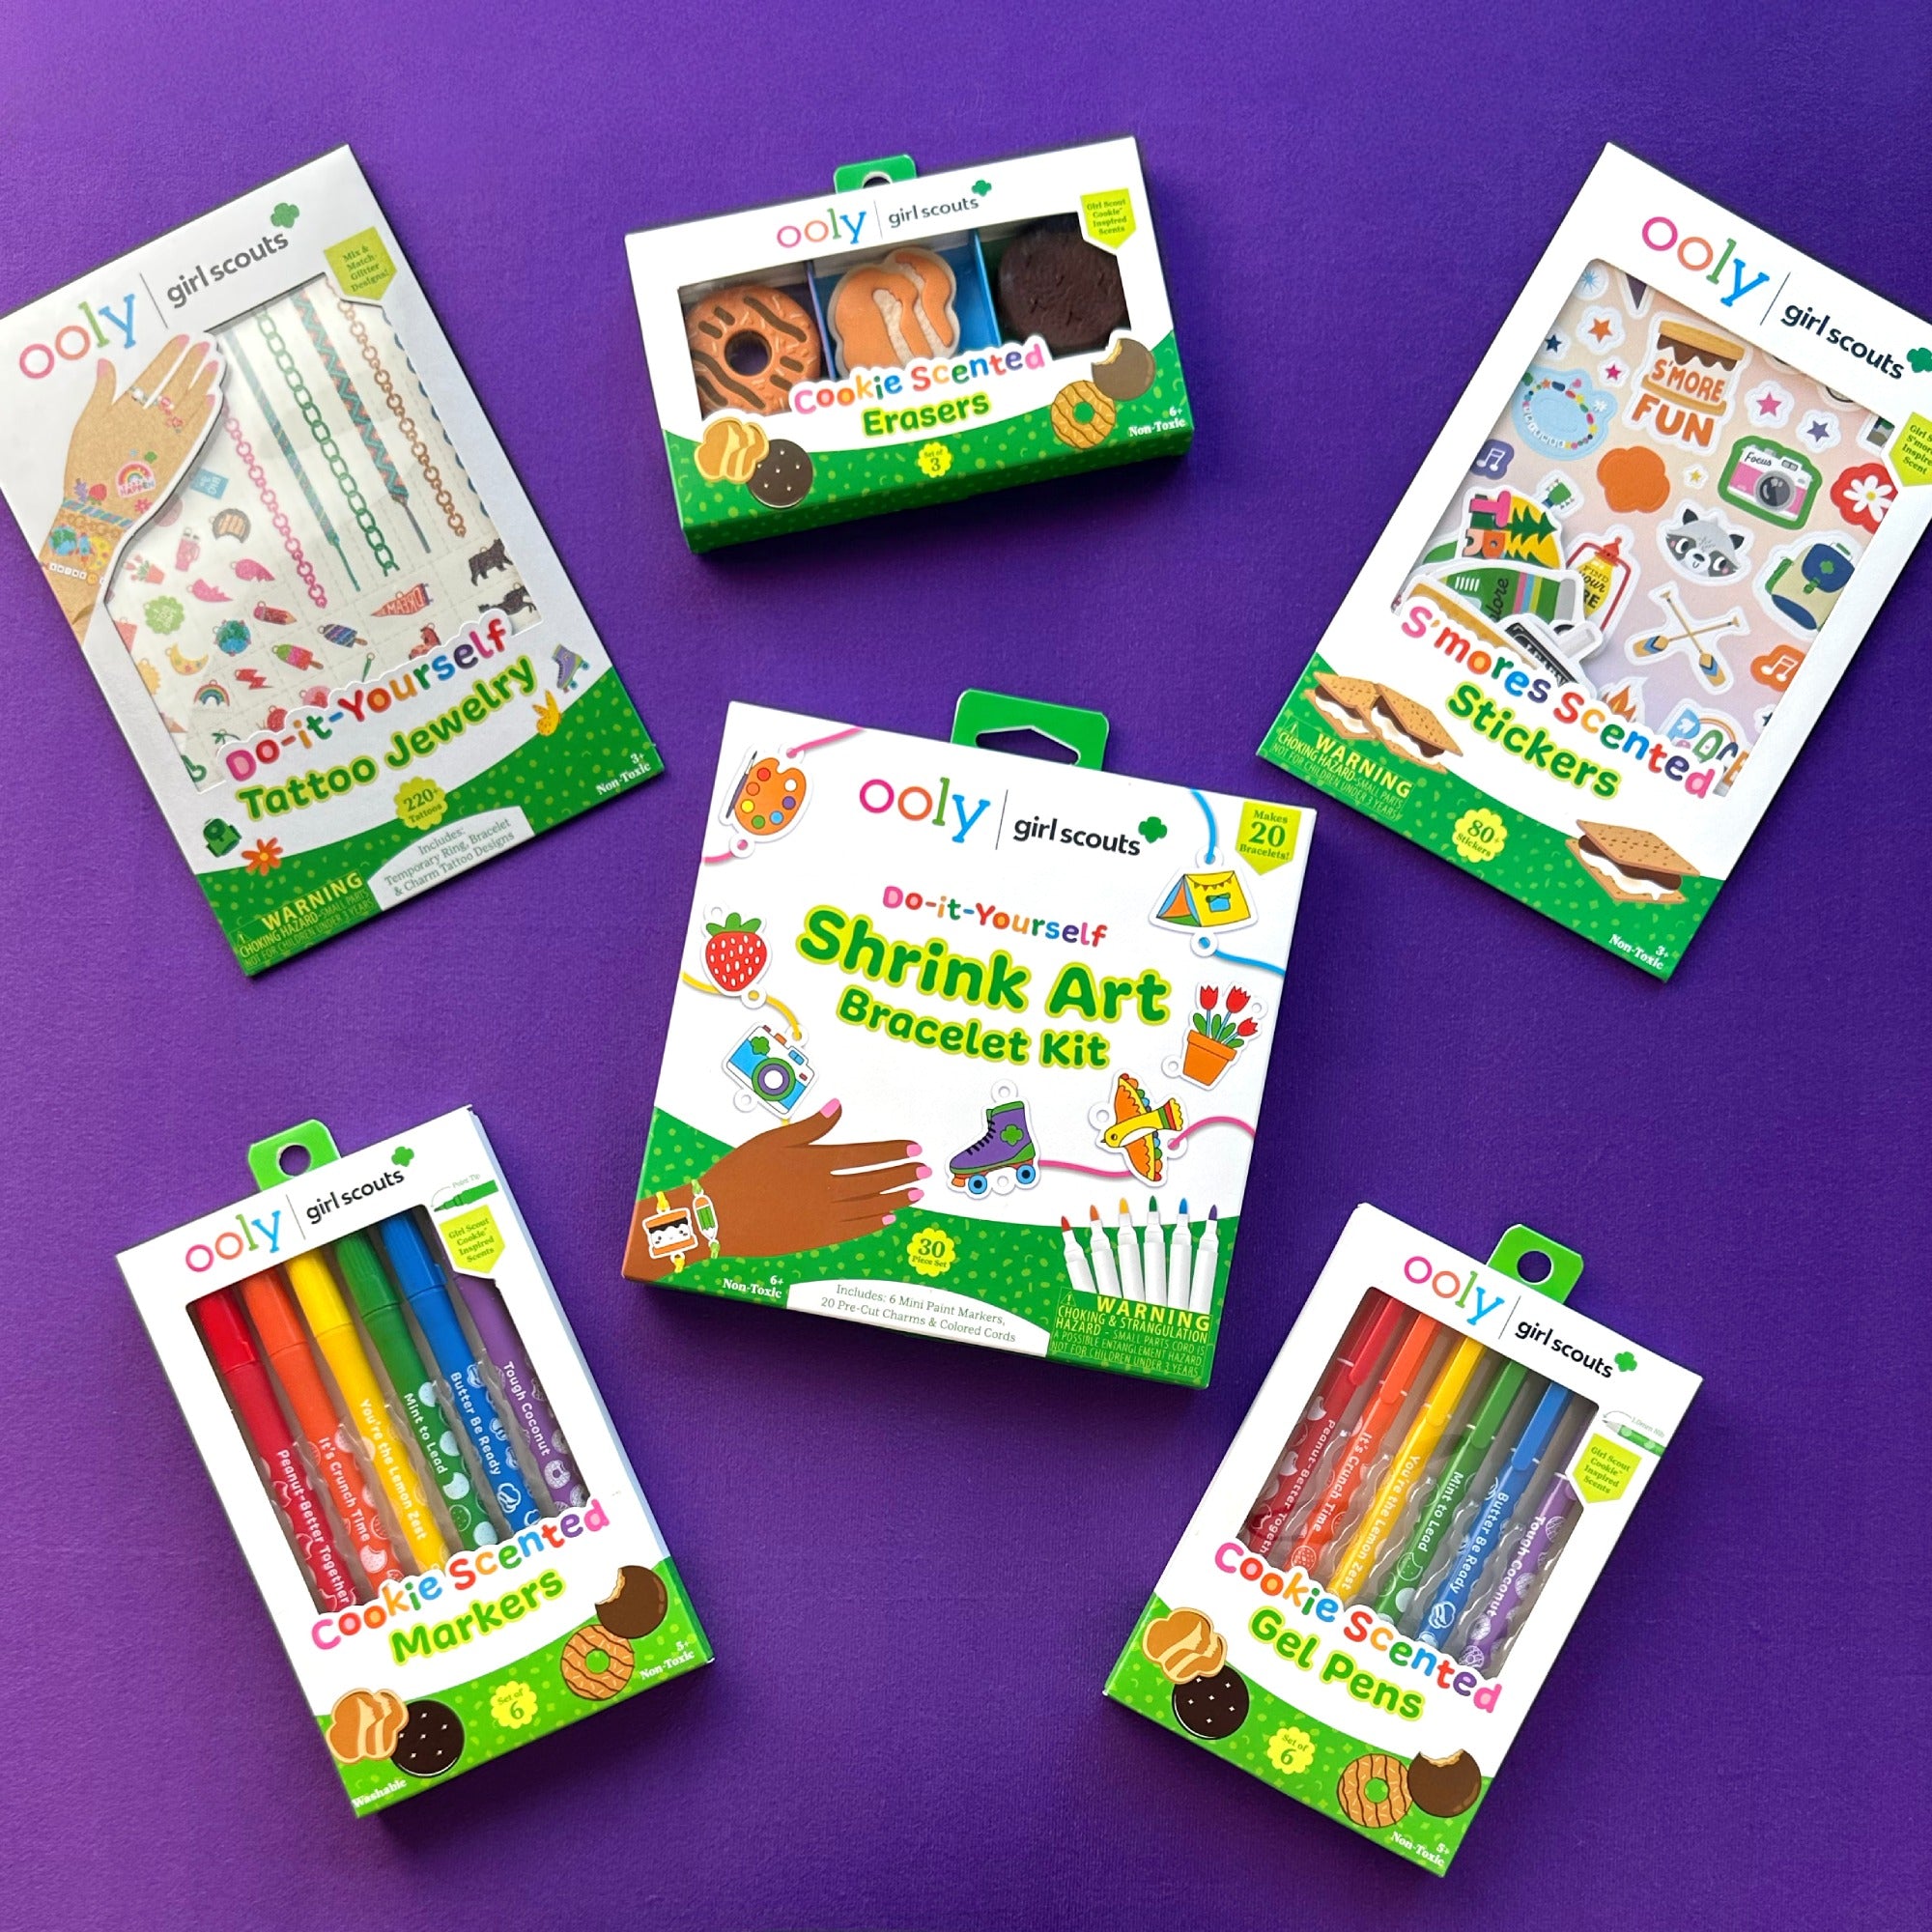
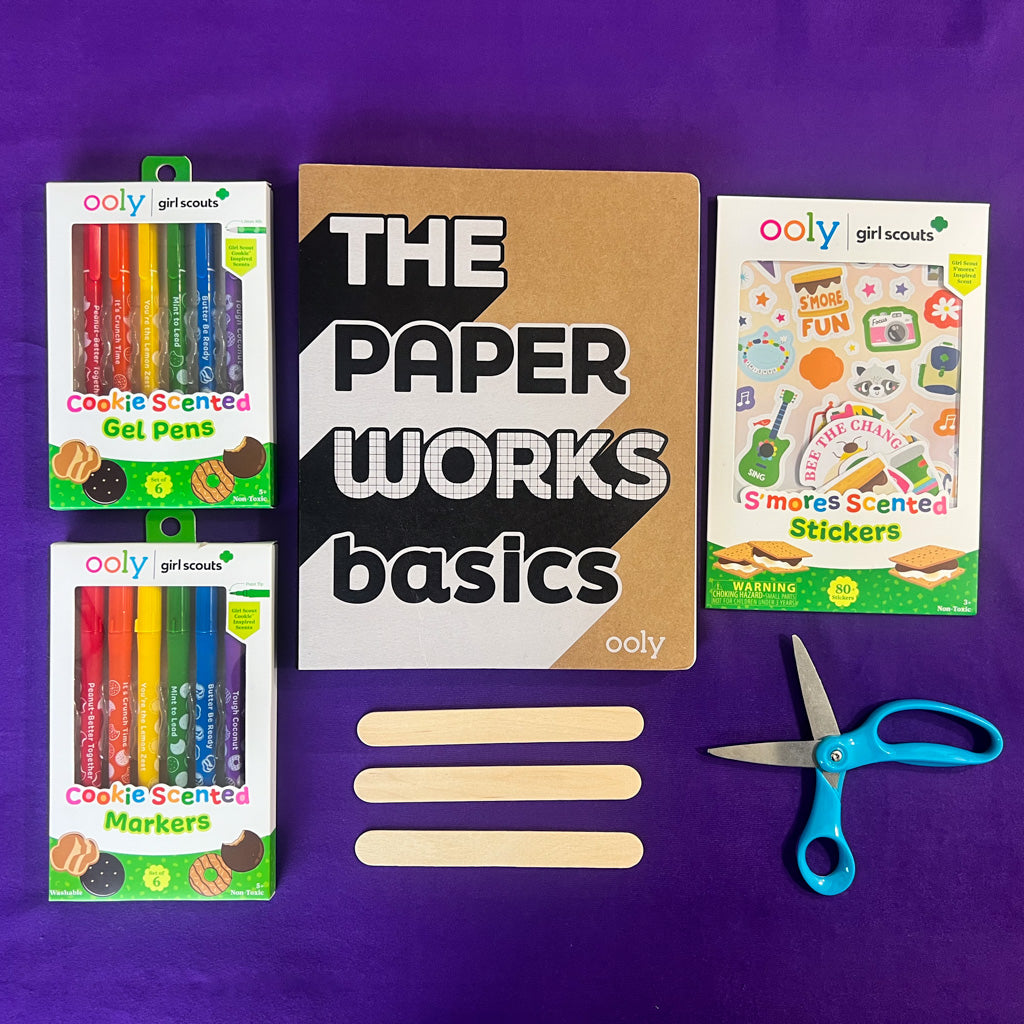
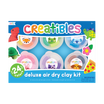
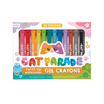
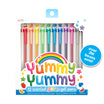
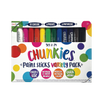
OOLY Products Needed:

Other Items Needed:

  • Tissue paper (preferably white, but you can use other colors too)
  • Yarn or string
  • A paper roll tube or empty container
  • Newspaper or paper bag
  • Hot glue gun (adult supervision required)
  • Scissors (adult supervision required)
  • Glue stick

Directions:

Step 1: Gather your materials and prepare the tissue paper for painting. Use a paper bag or newspaper to place underneath the tissue paper in case the paper rips.
Step 2: Paint the tissue paper using Lil’ Poster Paint Pods and Lil Paint Brush Set one color at a time. Use as many colors as you would like when painting, just try to divide the sections evenly and make sure the colors don’t blend together too much.
Step 3: Allow the paint to completely dry. When the paint is completely dry, start separating the colored tissue paper. Rip the sections from top to bottom and organize them accordingly. Then tear the paper lengthwise into smaller pieces. This part will be especially fun for children, so let them join in!
Step 4: Glue the longer pieces of painted tissue paper onto the bottom of your paper roll. These strips of tissue paper will function as the streamers. I used a hot glue gun for this step to make it a little more sturdy. Arrange the colors in whichever order you choose!
Step 5: With the shorter pieces of colored tissue paper, cover the paper roll using a glue stick to make it more decorative. Continue doing so until all of the brown of the paper roll is covered.
Step 6: Create a hole at the top of the windsock on either side. You will thread string or yarn through this, then tie both sides in a knot so that it functions as a loop to hang your windsock from.
Step 7: Hang up your windsock outside and admire your work!

Pro Tip: be sure to take your windsock back inside if rain is in the forecast as the tissue paper will not hold up. Luckily, these windsocks look just as beautiful and bright when hung inside!

This rainbow windsock is really so much fun and very simple to make. Your children will love the technique of painting and shredding the tissue paper. It makes the perfect craft to display to brighten up your yard after the leaves have fallen and weather gets cooler.

Alternate ending: If you have leftover tissue paper you can use them for another craft! We used our leftovers to make a rainbow collage and hung it up on the refrigerator.

Reading next

Christmas scene with DIY Holiday Stars, Christmas Trees, & Nutcrackers
Children’s Storybook Craft Idea