


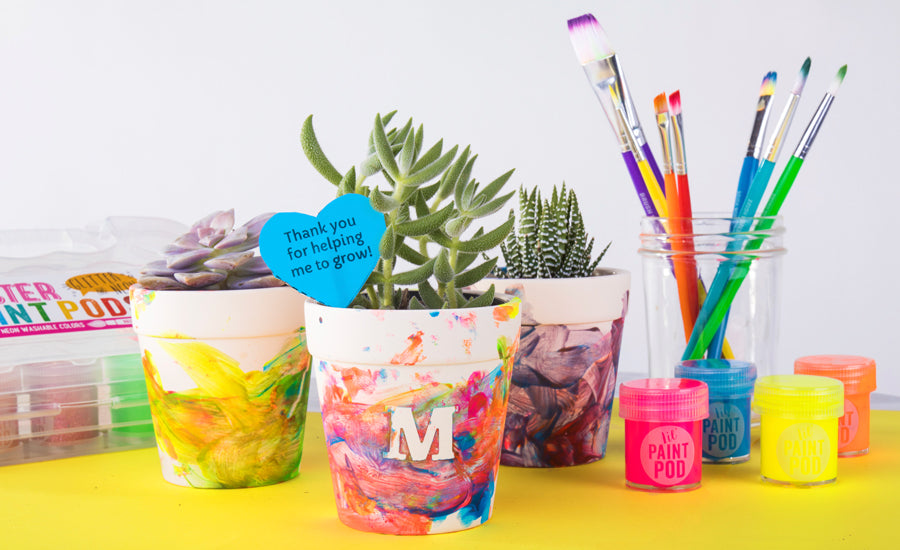
We decided to acknowledge some of the special people in our children’s lives who have helped them grow and learn by giving them plants, decorative flower pots, and signed flags that say “Thank you for helping me to grow!” This fun craft makes a perfect gift for Mother's Day or even a teacher for Teacher Appreciation Week.

What you need to get started for your decorative flower pot craft:
- Flower Pots (we had both black and white pots)
- Plants (we picked up a variety of succulents)
- "Thank You" Flags - Download the Free Printable Here
- Scissors to cut the flags out
- Toothpicks and Glue to put the flag on the toothpick
- A Variety of OOLY markers, paints, and paint brushes that are perfect for decorating your flowerpots! See below for how we created different effects with the different products
Neon Chalkables Liquid Chalk Markers
We started with the Neon Chalkables Liquid Chalk Markers, which come in 5 colors, can write on both porous and nonporous surfaces and will wipe away easily from nonporous surfaces. Some of our white flowerpots were smooth, and my son wanted to redo his artwork, so we could wipe away our mistakes with a damp cloth. When you use the Neon Chalkables Marker the first time, shake it and then press down for several seconds to get the liquid to flow to the tip. My son was content to make squiggles all the way around the pots and I love the abstract look. I then wanted to see what I could create with the White Neon Chalkables Marker on a black flowerpot. See the images below of what we created with the liquid chalk markers.


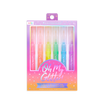
Color Luster Metallic Markers
I then tried the Color Luster Metallic Markers that come in six metallic colors with a brush tip that makes any mark you make look great. These also can write on both smooth and rough surfaces and will wipe away off smooth surfaces. I felt fancy drawing with these smooth metallic brush tips, and found it easy to make brush strokes or to color in solids, like the heart shown below.


Lil’ Poster Paint Pods – Glitter and Neon
Next, my youngest son was ready to join in, and we used the Glitter and Neon Lil’ Poster Paint Pods and The Brush Works Paintbrush Set to personalize his gifts for his teacher and grandma. We started with the neon colors and let him choose his brushes and cover the pot with paint. We even tried putting a letter sticker on one of the pots for him to paint over. Once the paint dried we peeled the sticker off and were left with a cute personalized flowerpot. I think we will be making more of these, using the teacher’s initials to personalize each. These paints are washable, which is great for the kids to work with and wash off their hands but I wanted to make sure that when grandma or his teacher watered the plant, and if any water got on the pot, that the paint wouldn’t drip off. To prevent this, I sprayed a coat of clear spray paint over each painted pot to protect the artwork. To finish it off, we printed the “Thank you for helping me to grow” tags, folded it over a toothpick and stuck in the pot with my son’s name and date written on the back.


Oodles of Doodle Multi-Surface Markers
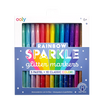
Finally, I’ve used Oodles of Doodles Multi-Surface Markers before and had a lot of fun drawing on coffee cups, mirrors, and more as can be seen here. I brought them out to draw some cute faces, and my son used them to sign his name on his flowerpots. Similar to some of the other products we used, Oodles of Doodles Multi-Surface Markers will wipe off of smooth surfaces, but will make permanent marks on porous surfaces. They look and function like a typical marker, which makes them familiar to work with.
I’d love to see how you create! If you are on Instagram, tag your photo #CreateYourHappy and follow along with OOLY and myself for more creative ideas!


