Dry pasta, paint, paper & (glitter) paste; becomes a novel way to make art! Using noodles and art supplies that are usually readily available you can create easy noodle craft art projects that kids will love. They make great handmade gifts too! Let's use our noodles and see what’s possible.
Tip: Before you begin any of these fun projects, clear your workspace and cover it with something to keep it clean. Some options are paper, plastic or cardboard.
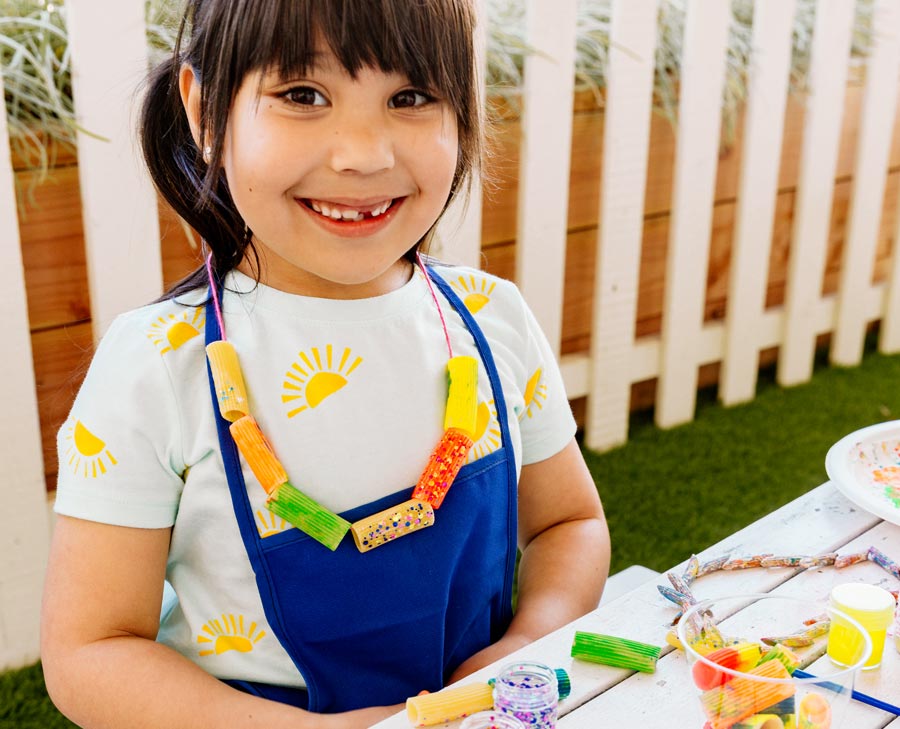
Idea 1: Sparkly Noodle Necklaces
Suggested Supplies:
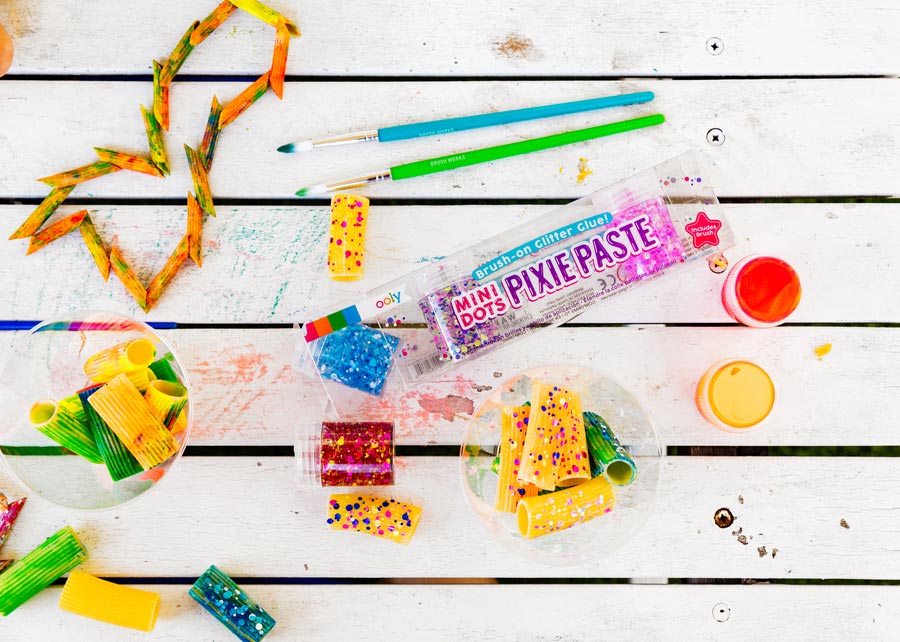
1. Figure out how many pieces of pasta you will need for your desired length of necklace for this noodle craft. Paint your tube shaped pasta with Lil’ Paint Pods. Make them all different colors or choose a color scheme for your necklace. Let the paint dry thoroughly before continuing.
2. Once your tubular pasta is dry then the sparkly fun begins! With
Mini Dots Pixie Paste Glitter Glue (brush included) start adding the glittery dots to your painted pasta.
Tip: Only add the glitter glue to one side of the pasta at a time-to keep it from sticking to your work space.
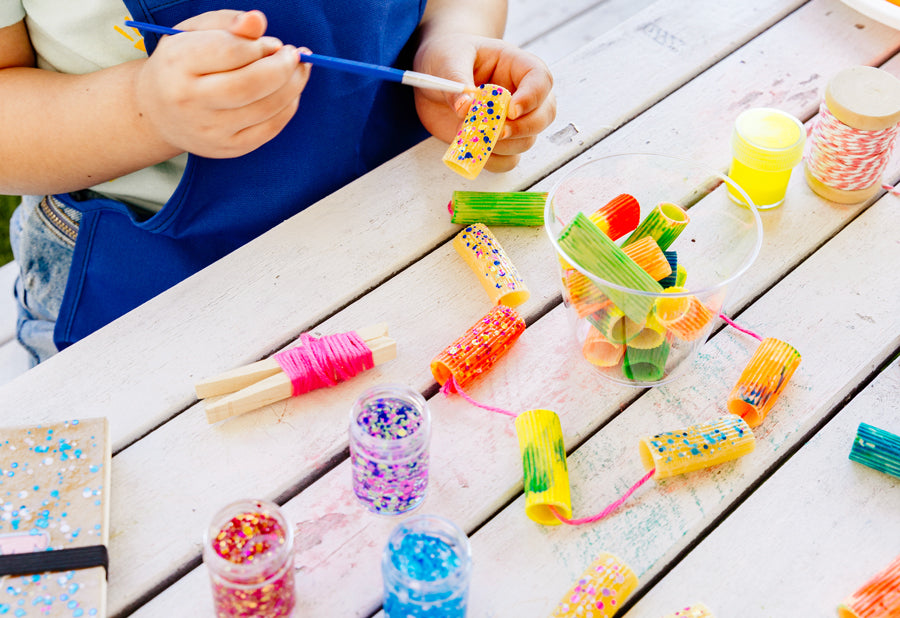
3. Now that you have added the sparkly dots and everything is dry; cut your cord to the desired length. String the cord through the pasta and tie the ends. If you have left over cording you can cut it off.
Tip: Make sure the cord will be long enough that it will be easy to slip on and off when tied.
Make friendship noodle necklaces for your BFF’s or as a special birthday gift. You can personalize it by writing on a painted noodle with a marker before adding the glitter glue. One box of pasta can make oodles of noodle necklaces!
Idea 2: Flower Greeting Card for Mom or Dad (or someone else special)
Suggested Supplies:
- Orecchiette & Fusilli Pasta (or shell or tube pasta will work too)
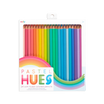
- Color Appeel Crayons
- Pixie Paste Brush-on Glitter Glue - Party in a Jar
- Standard white glue
1. First fold any color piece of paper in half to make your card. A sturdy card stock paper works best.
Tip: Do not glue your pasta in place yet! Wait until Step 4.
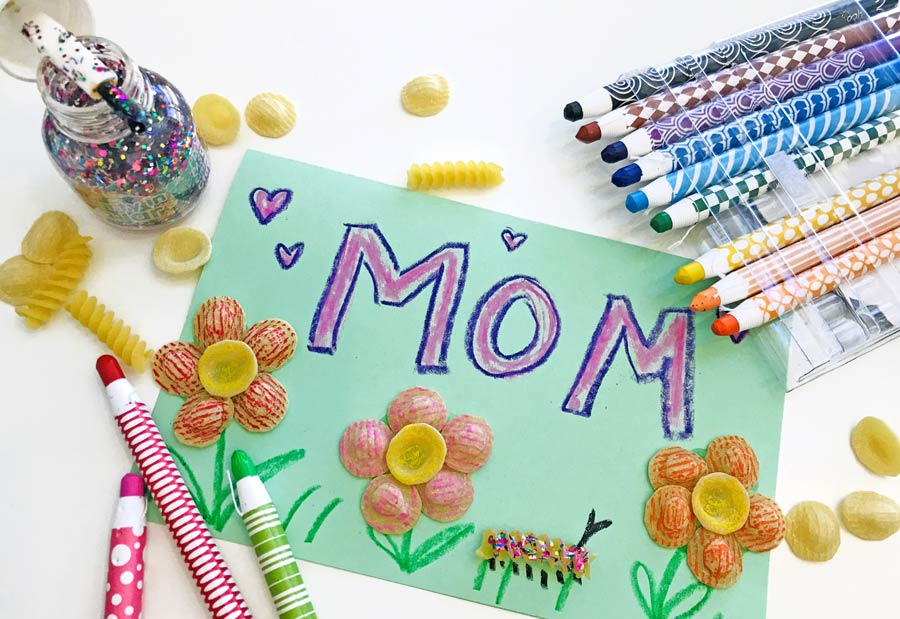
2. Arrange the unpainted pasta on the card to get an idea of your design. Next use the Color Appeel Crayons to draw stems and leaves for your flowers and caterpillar legs and antenna. This will let you know where to glue your pasta after it’s decorated.
3. With the round orecchiette pasta, use your crayons to color five flower petals in any color you want and color one yellow for the flower’s center. Do this for each flower you are making.
Tip: To create variety, color the petals with the curved part facing up and the yellow flower center with the curve part facing down.
4. Using a standard white glue, adhere your flower petals in a circle at the top of each flower stem you drew earlier, then adhere the flower centers to the middle of the flowers.
5. Use a piece of the spiral shaped fusilli pasta and glue it where you drew the legs and antenna for a cute little caterpillar. You can use tube pasta for the caterpillar instead if you wish for this noodle craft.
6. You can add lots of sparkle and glitter to your caterpillar and flowers brushing on the glittery
Pixie Paste and let dry.
7. Write a nice message inside and surprise someone special with a beautiful handmade card that’s sure to be a cherished keepsake for years to come.
Idea 3: Shimmery Butterfly Picture Frame
Suggested Supplies:
1. Begin this noodle craft by painting the bowtie pasta with the brightly colored
Chroma Blends Neon Watercolors or to create pastels use the
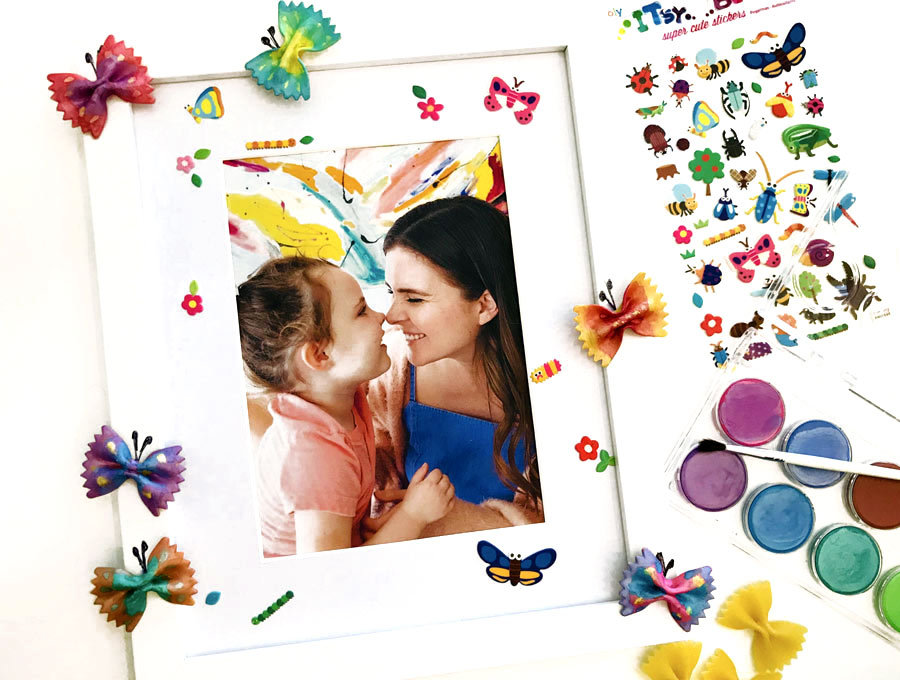
Chroma Blends Pearlescent paints. Use your imagination to paint beautiful and colorful butterfly designs on your bow tie pasta shapes.
2. Once dry use glue to adhere your butterflies all around the picture frame. Super glue works best for this, adult supervision is strongly suggested.
Tip: Don’t add butterflies to the bottom of your frame if it will be sitting on a table or shelf instead of hanging on a wall.
Optional: You can use a black marker to draw a little antenna on the picture frame wherever you glued a butterfly.
3. Place your
Itsy Bitsy Bug Life stickers and and stick them all over the frame and/or mat board inside the frame to enhance and embellish your design.
4. Once the glue is completely dry, add any photo you want and display your butterfly frame for all to see or give as a gift to a friend or loved one.
Idea 4: Cheery Rainbow Rain Cloud
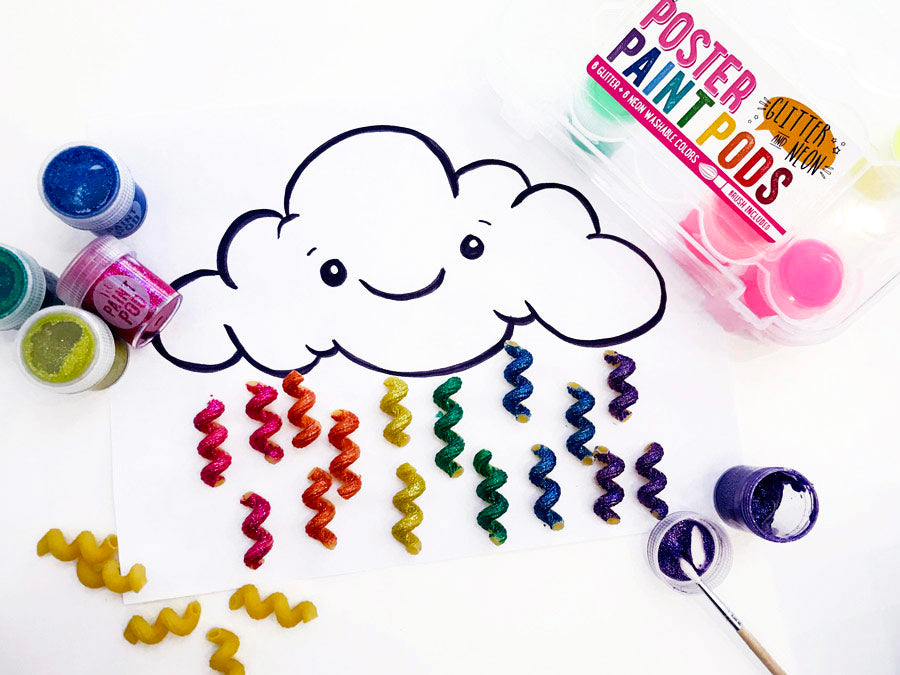
Suggested Supplies:
1. Draw a happy little cloud on a piece of paper, making sure to leave room at the bottom of the page where you will be adding your pasta for this noodle craft.
2. For younger creators, it maybe be better to paint your pasta first before gluing to your cloud paper. Just reverse steps 2 & 3 and remember to let your paint dry before gluing!. Using a standard white glue, adhere several pieces of Cavatappi pasta to the bottom of the page just below your cloud to make squiggly raindrops.
3. Once the glue has dried, paint each pasta shape with the
Lil’ Poster Paint Pods using the glitter or neon paints to really make the raindrops pop.
4. After the paint has dried you can display your bright, shiny noodle craft artwork for all to see.
Tip: You can paint the drops in rainbow order or mix it up and add the colors wherever you want.
We hope you have fun creating these fun and easy noodle crafts!
 Suggested Supplies:
 1. Figure out how many pieces of pasta you will need for your desired length of necklace for this noodle craft. Paint your tube shaped pasta with Lil’ Paint Pods. Make them all different colors or choose a color scheme for your necklace. Let the paint dry thoroughly before continuing.
2. Once your tubular pasta is dry then the sparkly fun begins! With Mini Dots Pixie Paste Glitter Glue (brush included) start adding the glittery dots to your painted pasta.
Tip: Only add the glitter glue to one side of the pasta at a time-to keep it from sticking to your work space.
 3. Now that you have added the sparkly dots and everything is dry; cut your cord to the desired length. String the cord through the pasta and tie the ends. If you have left over cording you can cut it off.
Tip: Make sure the cord will be long enough that it will be easy to slip on and off when tied.
Make friendship noodle necklaces for your BFF’s or as a special birthday gift. You can personalize it by writing on a painted noodle with a marker before adding the glitter glue. One box of pasta can make oodles of noodle necklaces!
 Suggested Supplies:


