


Celebrate Your Graduation with DIY Grad Caps
Congratulations grad, it’s your time to shine and celebrate your big day with these grad cap decorating ideas! This graduation season is like no-other. We want to help you celebrate your awesome self or your family graduate. Here are some fun ideas on how to do this.Decorate and customize your grad cap
Even though your school may not be holding a formal graduation ceremony for the Class of 2020, it doesn’t mean you don’t get to celebrate your achievement. If you received a graduation cap, decorating it and wearing it around is a creative way to do this. It’s still important (and fun!) to get those graduation caps ready to be thrown into the air, even if it may be in your living room or backyard. Harness your school spirit, and let’s get to decorating! (Didn’t get a grad cap? Just skip to DIY Grad Cap later in this post and make your own.) These easy to follow ideas will show you how to create your own one-of-a-kind cap that will let your personality shine and remind you of your accomplishment for years to come.Idea 1 - Personalize Your Graduation Cap with Fun Printables and Sparkly Embellishments
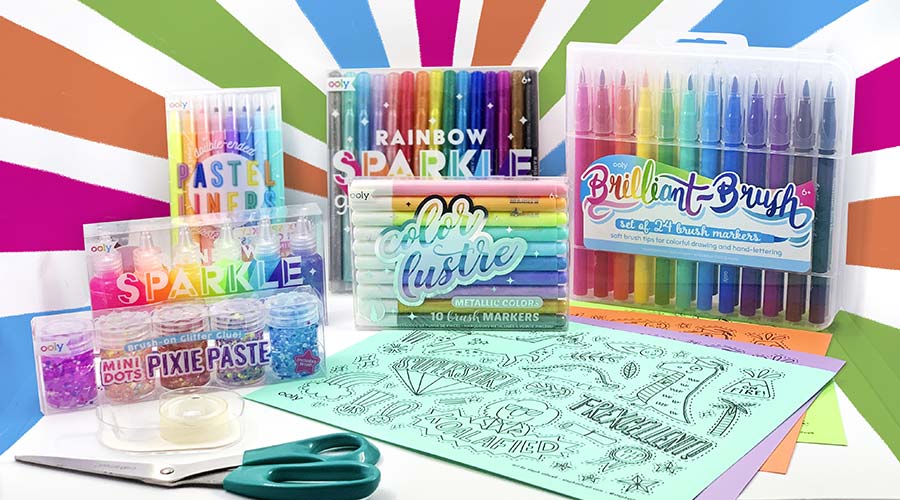
Suggested Supplies:- Graduation cap
- 8.5 x 11” sturdy paper for printing on
- Downloadable cut-outs
- Scissors
- Glue
- Markers
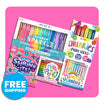
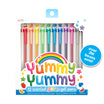
- Brilliant-Brush set of 24 markers
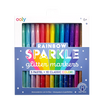
- Rainbow Sparkle glitter markers
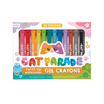
- Gel Crayons
For the Young at Heart
Grad Cap Decorating Prep
Start by gathering your supplies—scissors, glue, coloring tools of your choice — and print out the downloadable cut-outs onto some sturdy paper. You can print out the downloadable on pastel colored paper if you want, just be mindful that the colored paper isn’t so dark that it’s difficult to color on and check any special instructions for your printer.Coloring the Selected Designs for Your Cap
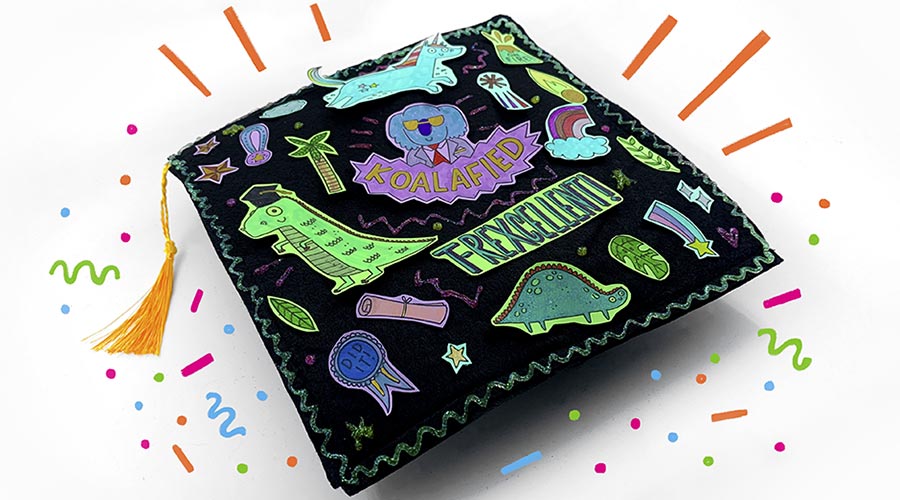
Color in the printouts however you’d like! Go wild with pastel, metallic, and glitter markers as you see fit! The downloadable printable includes three themes: Superstar Unicorn, Koalafied, and T-Rexcellent—feel free to keep a specific theme for your cap, or mix and match different characters and designs!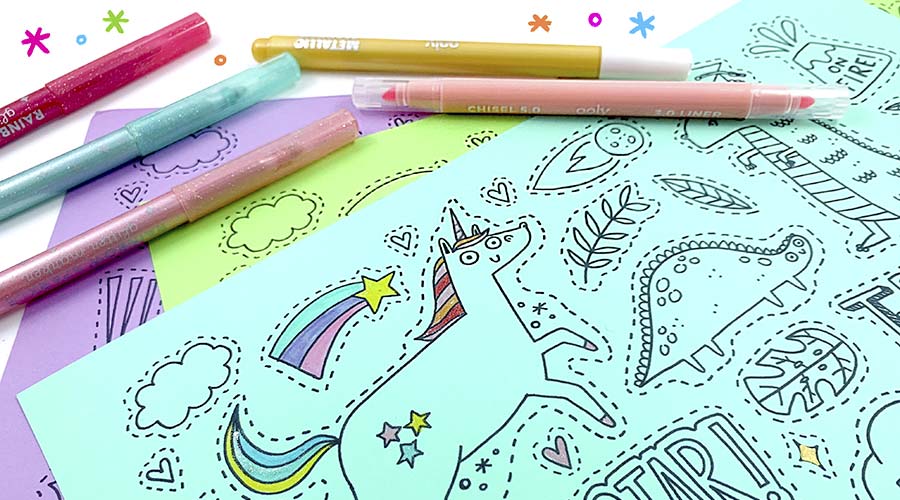 Once all of your favorite designs are colored in, carefully cut out the ones you want to include. Then, glue them or tape them to your cap. Tip: plan ahead by arranging your cutouts on your cap, before gluing them, so you know where you want everything to end up.
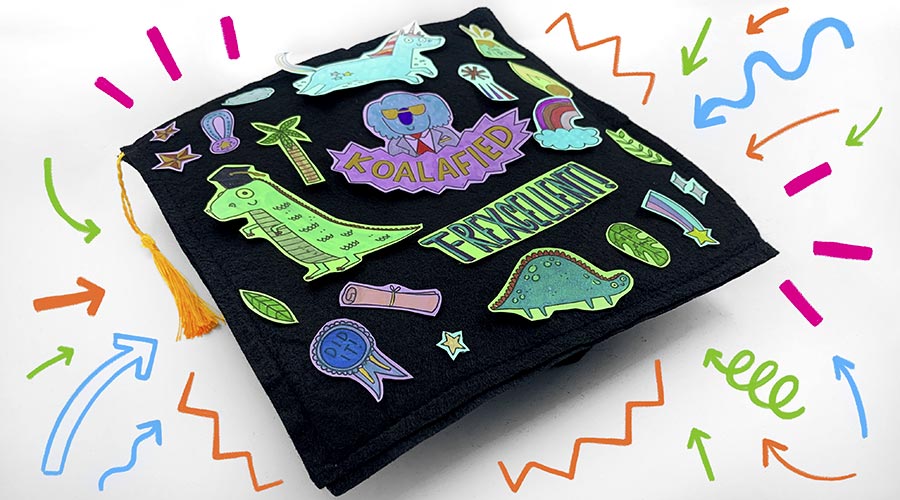
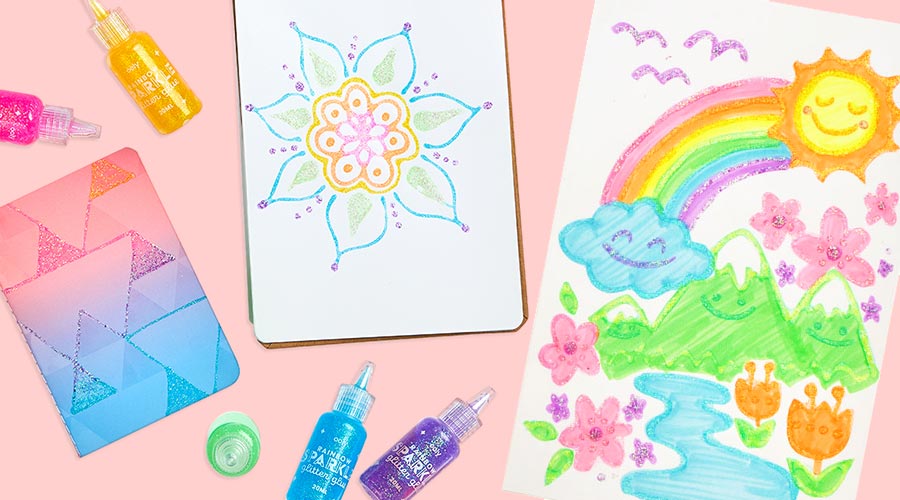
Now add Sparkle and Fun!
For the finishing touches—Rainbow Sparkle Glitter Glue and Mini Dots Pixie Paste make a great sparkly addition! This cap is all about YOU! And just like that, you’ve got yourself a one-of-a-kind cap for grad cap to celebrate your big day!
Steph Stilwell is an illustrator and designer based in Brooklyn, NY. She loves collaborating on OOLY products almost as much as she loves using them, and has illustrated for products like the Sleep Sloth Scented Stickers and the Awesome Doodles Standing Sketchbook. You can see more of her work at stephstilwell.com.
And just like that, you’ve got yourself a one-of-a-kind cap for grad cap to celebrate your big day!
Steph Stilwell is an illustrator and designer based in Brooklyn, NY. She loves collaborating on OOLY products almost as much as she loves using them, and has illustrated for products like the Sleep Sloth Scented Stickers and the Awesome Doodles Standing Sketchbook. You can see more of her work at stephstilwell.com.
Idea 2 - Show Your School Spirit
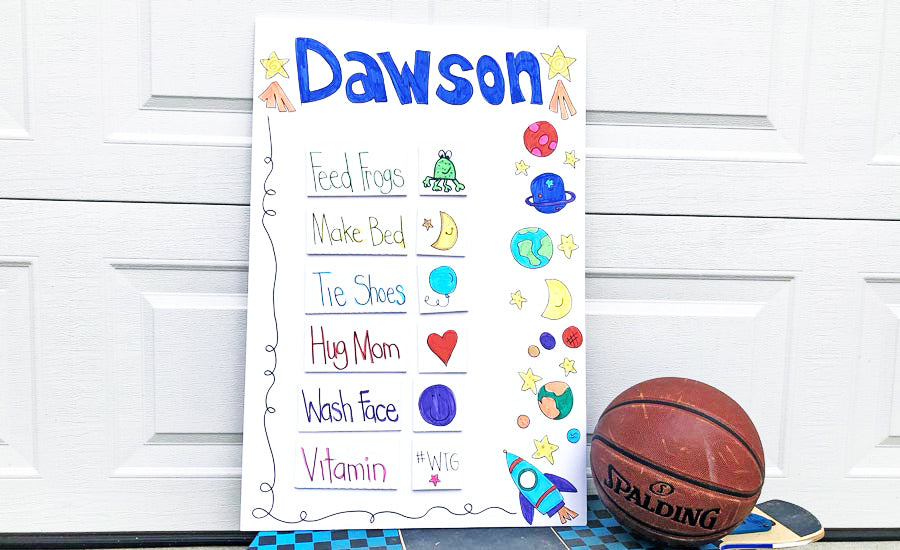
Print and cut out the image of your school’s mascot and/or any other cool printouts you’d like to add to your cap for flair. Or use your artist skills to make your own drawings and add them to your cap.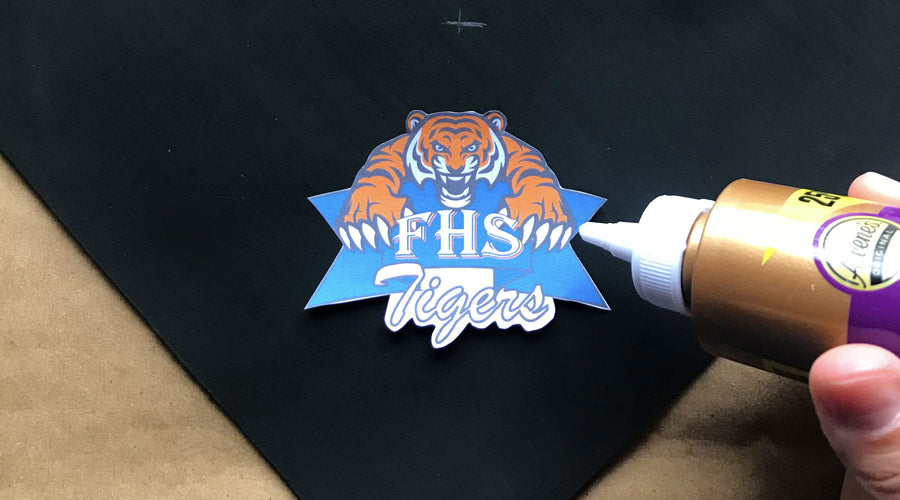 Add fun words or phrases to round out the mascot to create a theme that represents your school or class spirit.
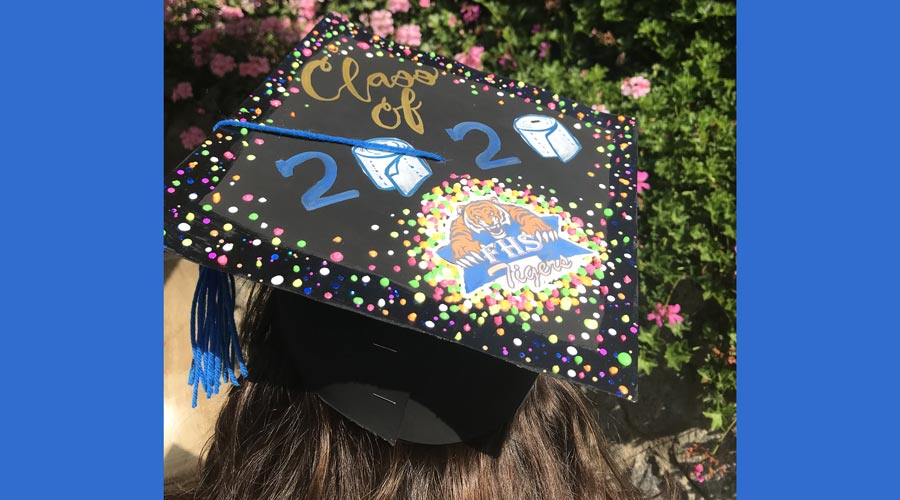 The Mini Dots Pixie Paste and the bright neon shades of Dot A Lot can really make your cap pop! There are no wrong answers here (unlike the tests you had at school). This will add some color and sparkle to your cap in any cool design you can think of.
So get creative, make it silly, outrageous, and fun!
The Mini Dots Pixie Paste and the bright neon shades of Dot A Lot can really make your cap pop! There are no wrong answers here (unlike the tests you had at school). This will add some color and sparkle to your cap in any cool design you can think of.
So get creative, make it silly, outrageous, and fun!
No cap? Here’s how to make your own DIY Graduation Cap
If you didn’t receive a grad cap from your school, there’s no reason you shouldn’t create one for yourself! Here’s an easy “how to” using supplies you may already have around your house.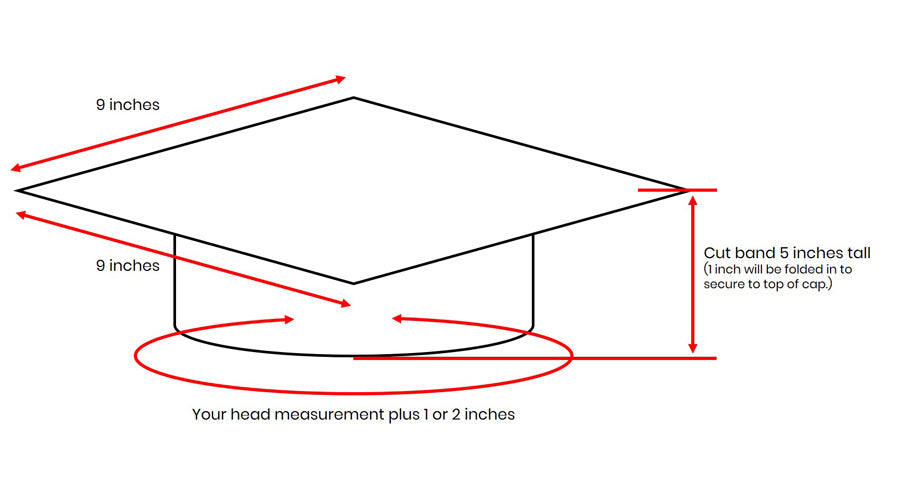
Suggested Supplies:
- 2 manilla file folders, flexible poster board or a similar sturdy paper
- Colored construction paper or any colored paper
- Printed school logo or other cool images
- Yarn, string or similar
- Tape measure or ruler
- Scissors
- Glue, tape and/or stapler
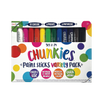
- Lil’ Poster Paint Pods
- Colored construction paper
Getting Started
Start by gathering your supplies— 2 manilla folders, flexible poster board or 2 to 3 sheets of another sturdy paper(for the top you can even use regular cardboard), printed images to decorate your cap, yarn, string or ribbon for a tassel, tape measure or ruler, scissors, glue, tape and/or stapler, paint or construction paper to color your cap.Cut it Out
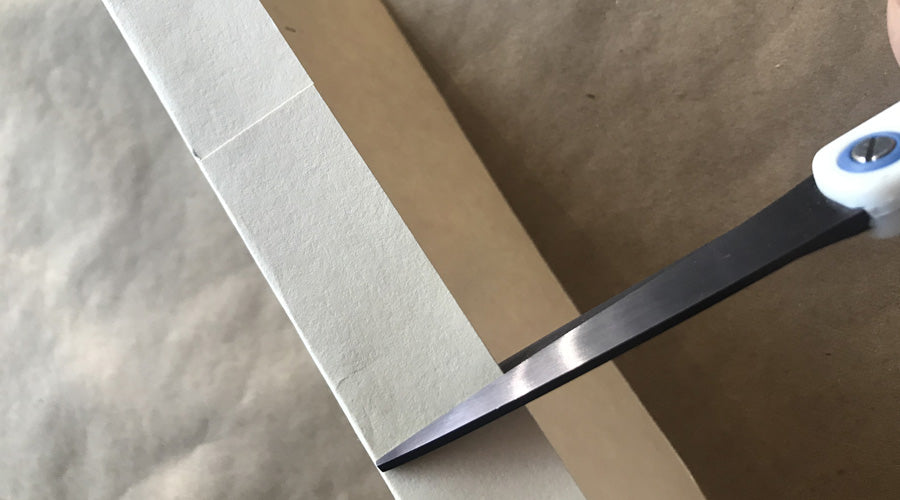
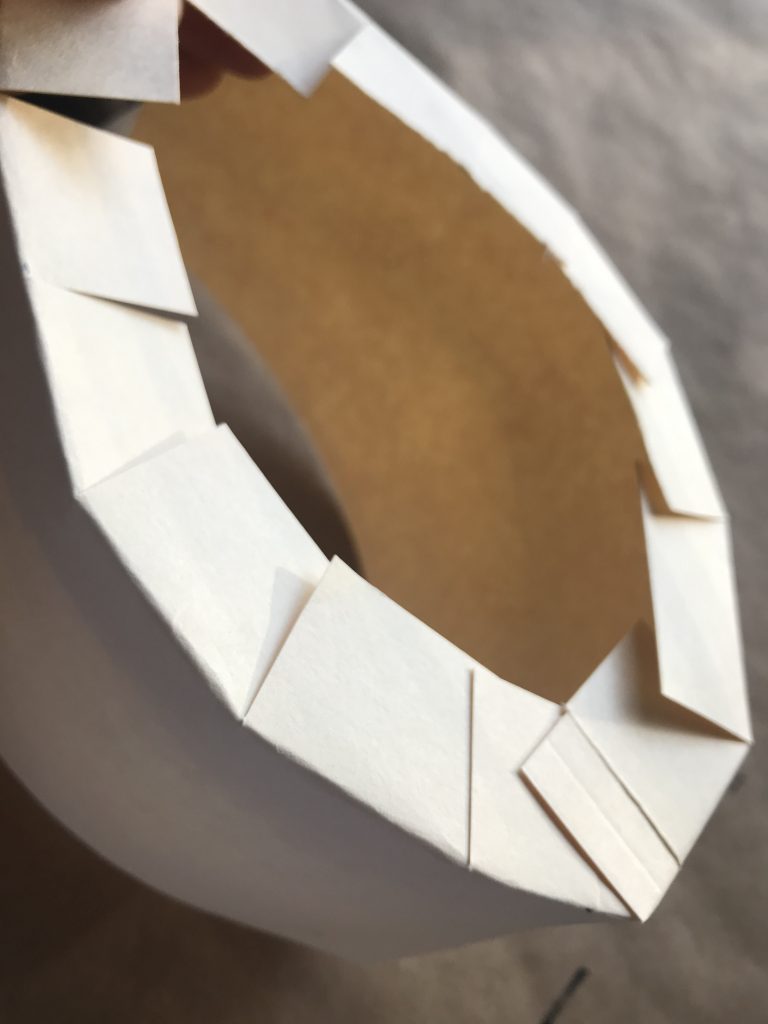
1. Cut out the pieces to make your cap from the manilla folders or other sturdy paper. For the top, cut a 9 inch x 9 inch square. For the band, use the tape measure or even a long piece of string to measure your head. Be sure to add an inch or two of overlap for the length. The band should be about 5 inches tall.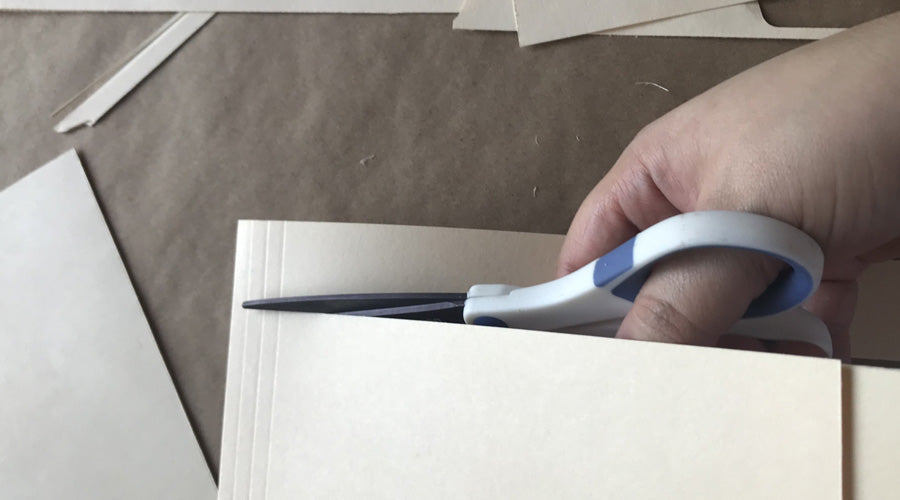 2. Then take your head band and measure one inch from the top edge and fold it over along the entire length.
 Go along the length of the head band and cut several slits to the fold line roughly one inch apart. This will make it easy to secure the head band to the top of your cap.
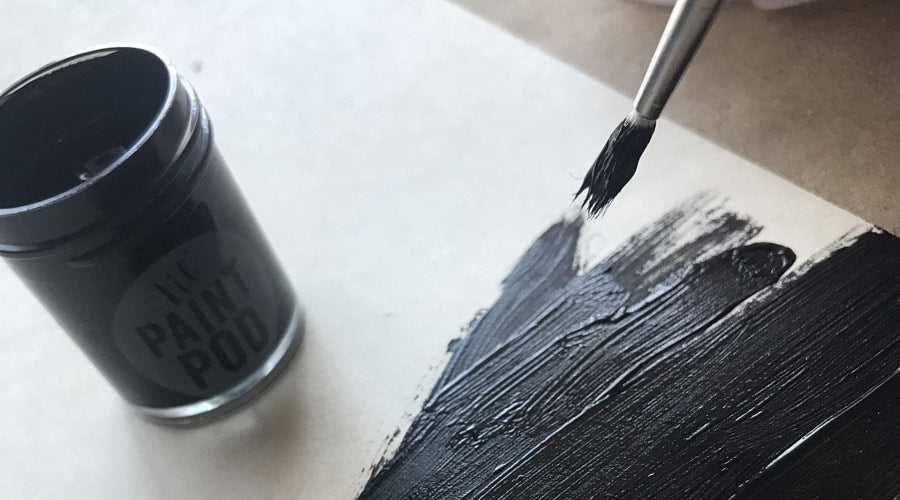
 3. Paint the outside of the headband and both sides of the cap top however you want or cover it with colored construction paper. You can go traditional black, use your school colors or even use any color you want. If you use paint make sure to let the paint dry between coats. The Lil’ Poster Paint Pods have 12 vibrant colors at your disposal and the paint dries within 1-2 days.
*Tip: Make sure not to paint the inside of the headband.
3. Paint the outside of the headband and both sides of the cap top however you want or cover it with colored construction paper. You can go traditional black, use your school colors or even use any color you want. If you use paint make sure to let the paint dry between coats. The Lil’ Poster Paint Pods have 12 vibrant colors at your disposal and the paint dries within 1-2 days.
*Tip: Make sure not to paint the inside of the headband.
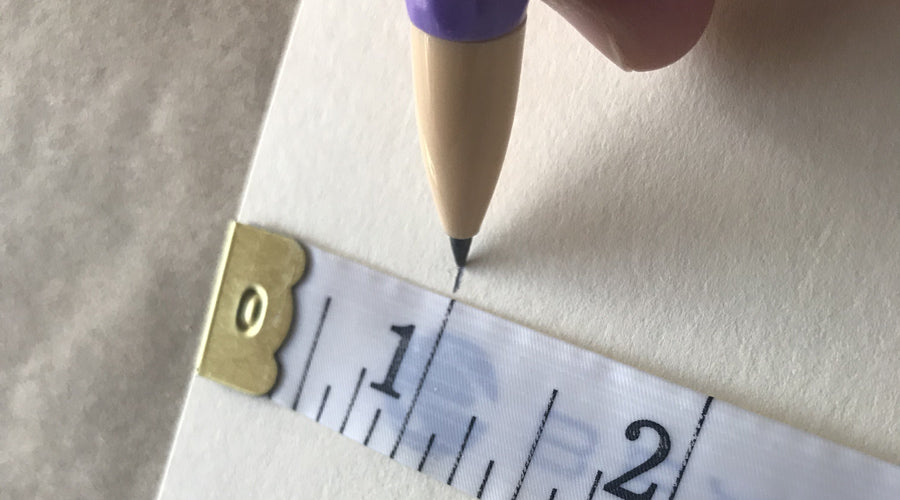
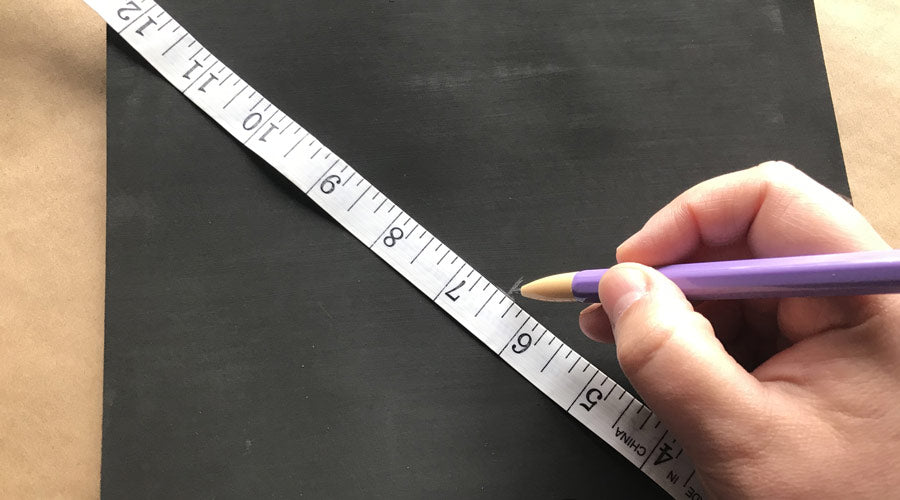
 4. After the paint dries find the center of your cap by measuring diagonally in both directions and marking the middle with a small X. You will need to find this spot later when attaching your tassel.
Top it Off with a Tassel
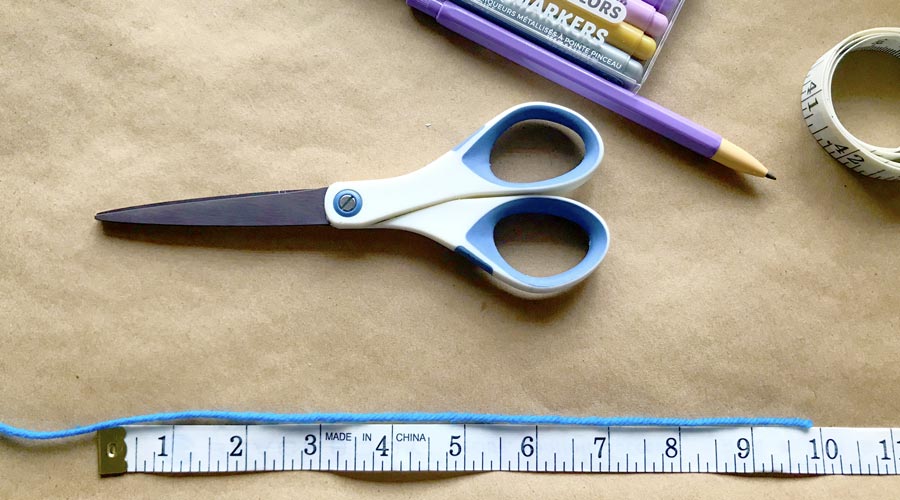
Once your cap is made it’s time for the tassel. If you didn’t receive one here’s an easy way to make it. Wrap yarn or other hefty type of string around a piece of sturdy paper or cardboard until it looks full enough.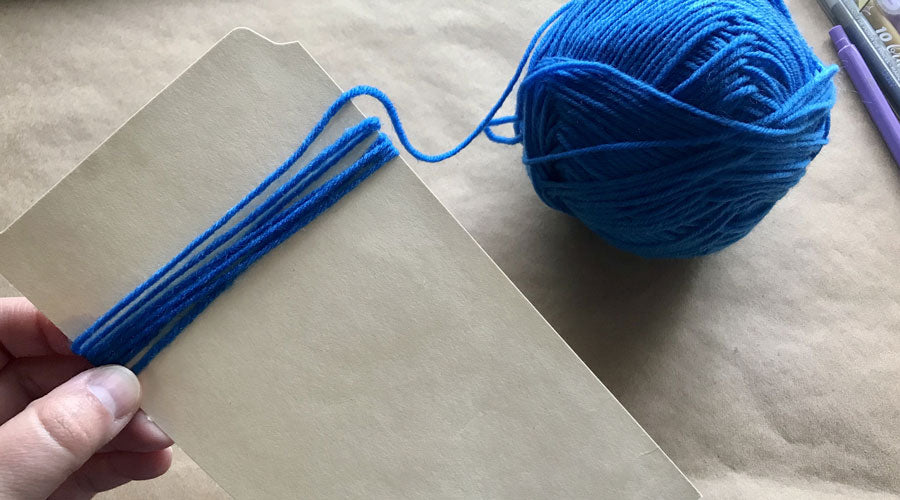 Now cut about a 10 inch length of yarn and then tie it in a knot at the top of your tassel. Make it long enough so your tassel hangs down from the edge of your cap.
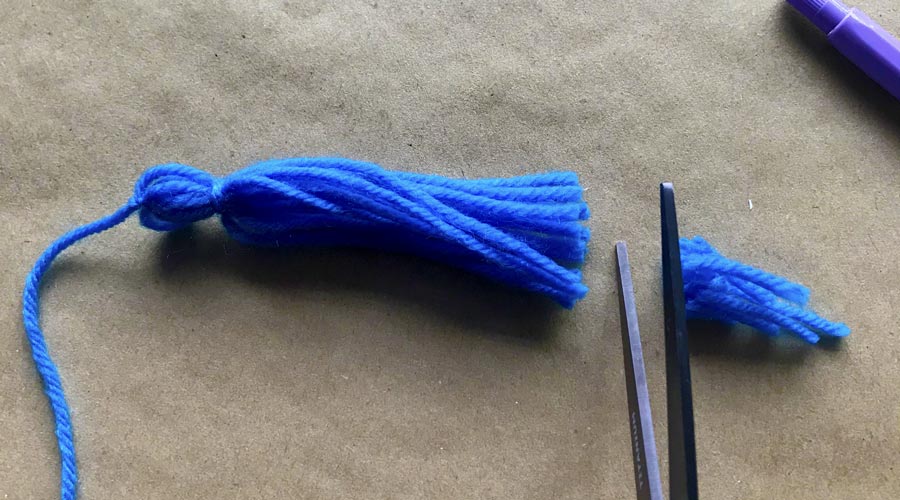
 Finally trim the ends of the tassel so they are all even and that’s it! Your tassel is complete.
Put it All Together
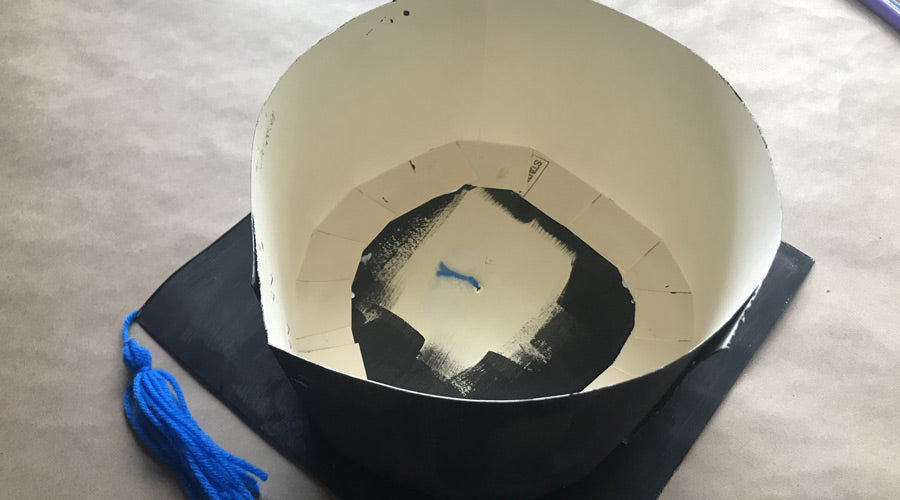
After your cap has finished drying, poke a small hole at the center point you marked earlier and pull your tassel thru it. Then secure it from the underside with a piece of tape, or glue.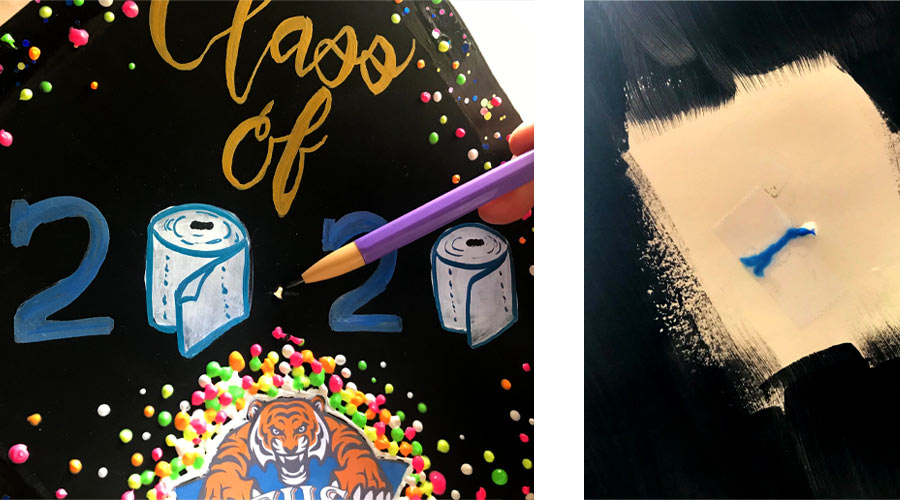 Now take your head band and attach the ends together with a stapler or tape. Be sure to wrap the band around your head to ensure the right fit before stapling or taping it together.
 Flip the band over and center it on the bottom of the cap, then press firmly in place with tape. (You can also glue it to the top of the cap if you prefer.)
*Tip: try to keep the seam of the band in the back so it is less visible.
Flip the band over and center it on the bottom of the cap, then press firmly in place with tape. (You can also glue it to the top of the cap if you prefer.)
*Tip: try to keep the seam of the band in the back so it is less visible.
 Flip it over and you’re DONE! You’ve made an awesome graduation cap from stuff you already had around the house.
Now it's ready to decorate!
Flip it over and you’re DONE! You’ve made an awesome graduation cap from stuff you already had around the house.
Now it's ready to decorate!


